With only a few parts, you can give your printed ABS components a real shine.

An unused jam jar with lid, nail polish remover (acetone) and some wire is all you need. Continue reading

With only a few parts, you can give your printed ABS components a real shine.
An unused jam jar with lid, nail polish remover (acetone) and some wire is all you need. Continue reading
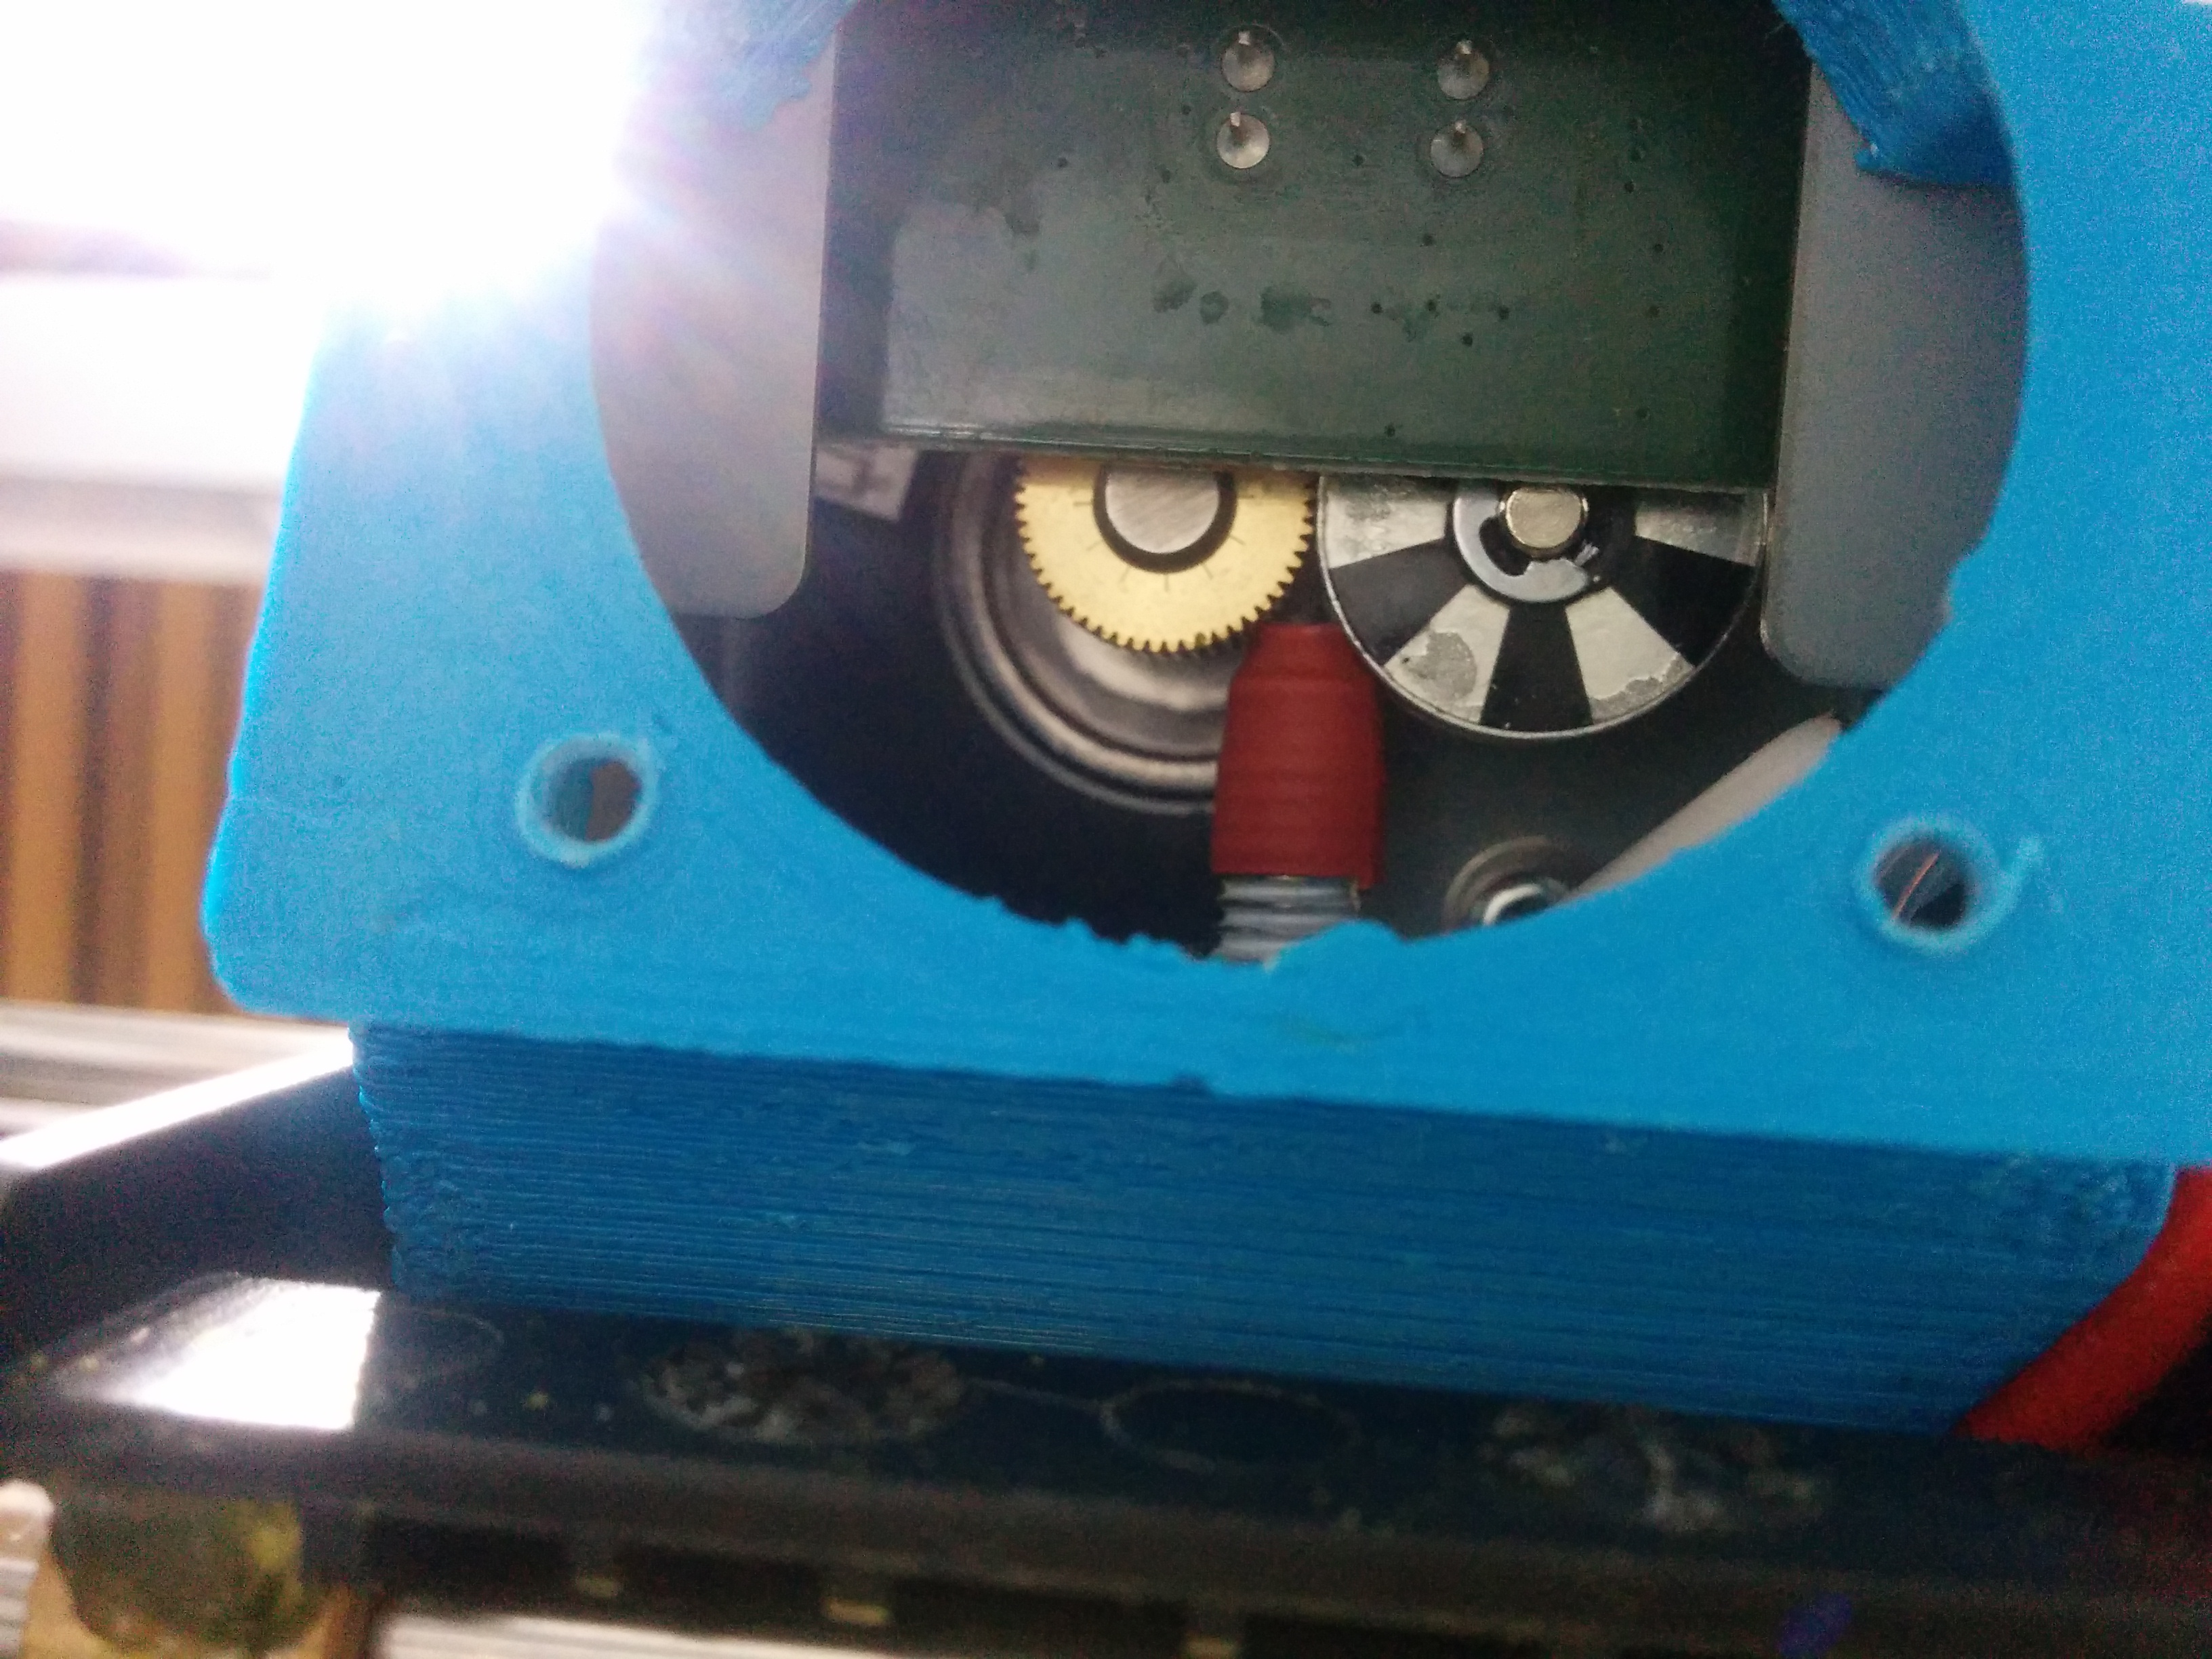
Two different filament guides for Ninjaflex have been trialed with differing success.
One made from heatshrink was promising initially but has failed to be robust. The second, using a 3D printed component from Thingiverse has increased print time but is difficult to install.
Details of the results can be followed here.
If you’ve had to calibrate the bed of your Da Vinic 1.0, you will understand how this is a painful process. To make things somewhat easier, consider replacing the stock thumbscrews to something a little more manageable.

If printing a model that has multiple small pads or islands contacting the print bed, there is a high risk that these will catch the print head and tear off. Once this happens, the print is difficult to recover and you need to being again. No amount of glue seemed to help the latest attempt from tearing the pads from the print bed.

To solve this problem, a raft was used to support the model and finally there was some success.
3D printing allows you to make rapid prototypes or final creations. However, as you’ll soon learn, what you model up is not exactly how your print will turn out. A good example is when printing holes in your project. Due to a variety of factors, the actual printed hole diameter will be different to your 3D model. Printing a standard on your 3D printer will allow you to understand what your machine can actually do.
First in the beginning of several articles, we examine how printed holes will be different and how you can compensate for the difference.

