
Following on from where we last left off, its time to make some shelves for the rack.
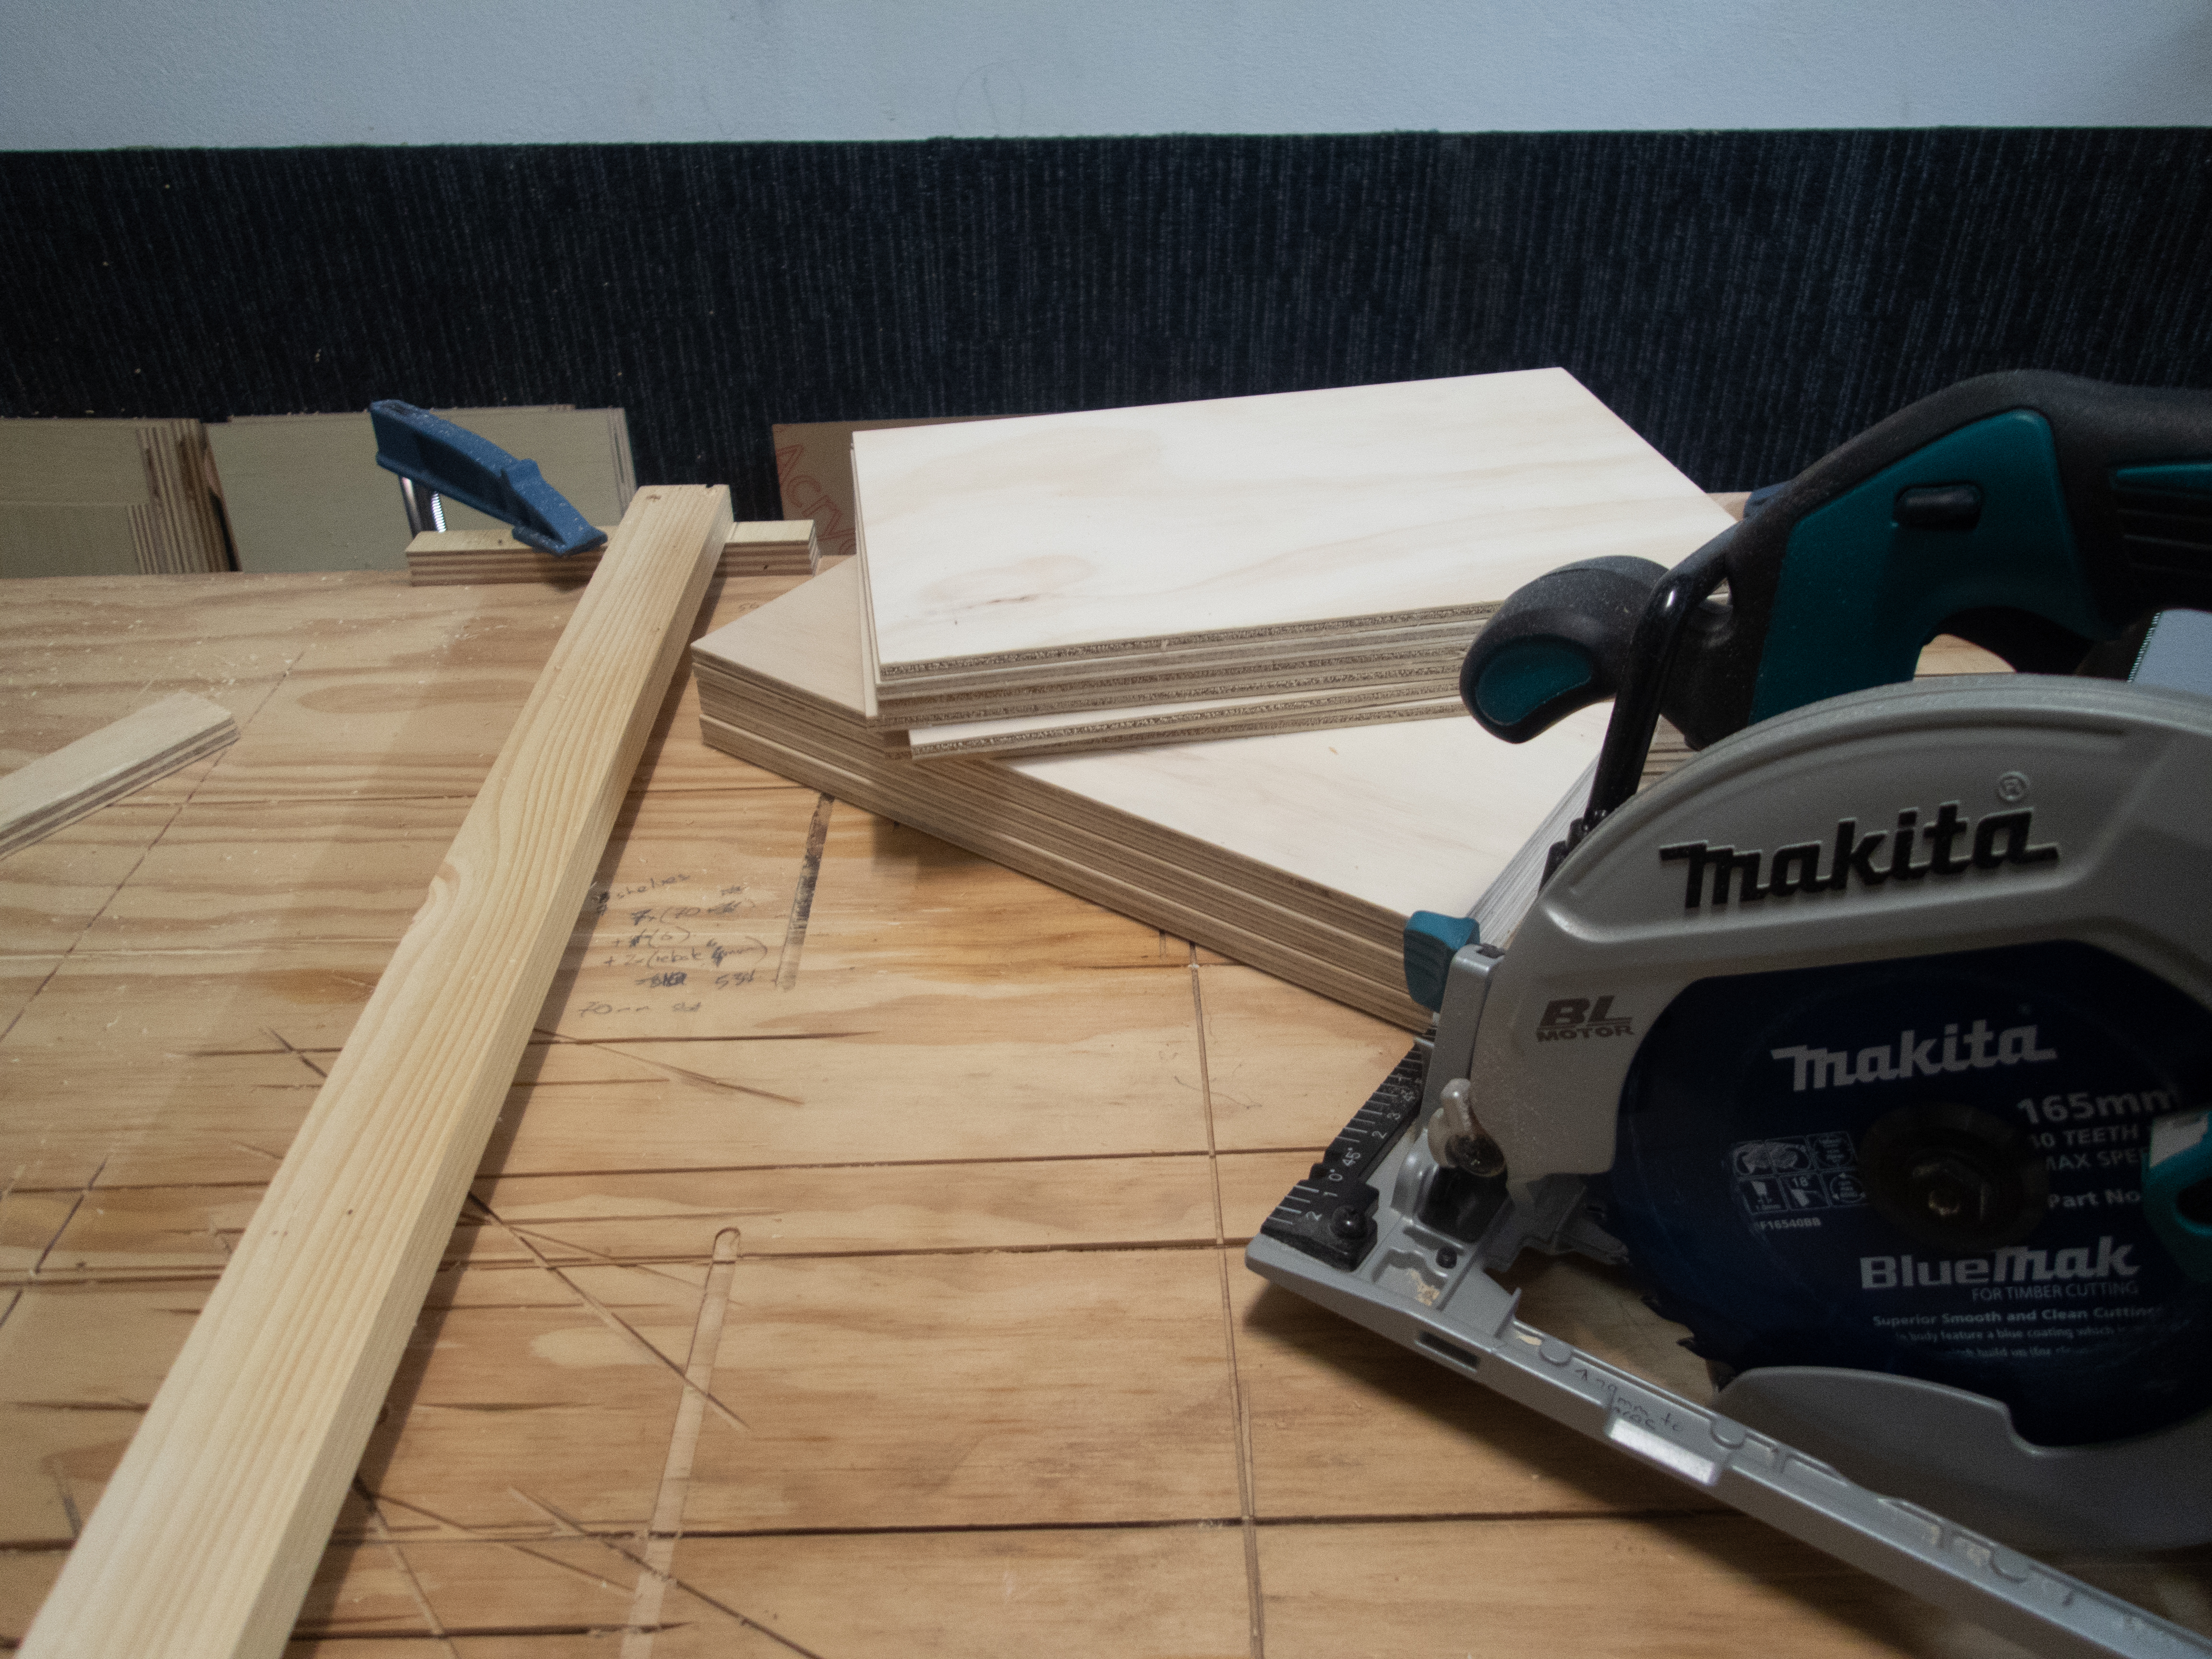
The week before I picked up a piece of 7mm plywood from a building scrap supplier just north of Wollongong for $5. The piece was 2400mm long by 500mm wide and was a perfect candidate to cut up into shelf pieces. It was a bit weathered so I gave it a quick sand and then cut it into 200mm wide pieces. I got a bit creative with supporting the piece (the shop vacuum was a near perfect height) as I cut it with the circular saw – probably not the best approach though as it did receive a war-wound.


To speed up the process of cutting each of the 12 shelves to size I made straight edge from some scrap pieces of timber that I could use as a guide for the saw. The top horizontal member of the straight edge was then cross cut with the saw – this provides the reference to know where the saw blade will cut. Then it was just a quick process of setting an end stop, inserting the plywood, cutting, advancing the plywood and repeating.

The makeshift cross-cut guide made very short work of the process of cutting each shelf to size. It probably took about 30mins to make the saw guide and then about 20mins to set up the guide and get all the clamps in the right spot. (Note, I have not mentioned making a test cut with the saw guide.) Cutting all the shelves took less then 5mins. That is something to remember when watching videos on YouTube, the setup process is not normally shown because it can take a while. But once the tool/jig is setup and working right the actual process of cutting something to size can be really quick and deceptive.
Ok, time for today’s first mistake! I should have made a test cut with the saw guide before cutting all 12 shelves 😦 .

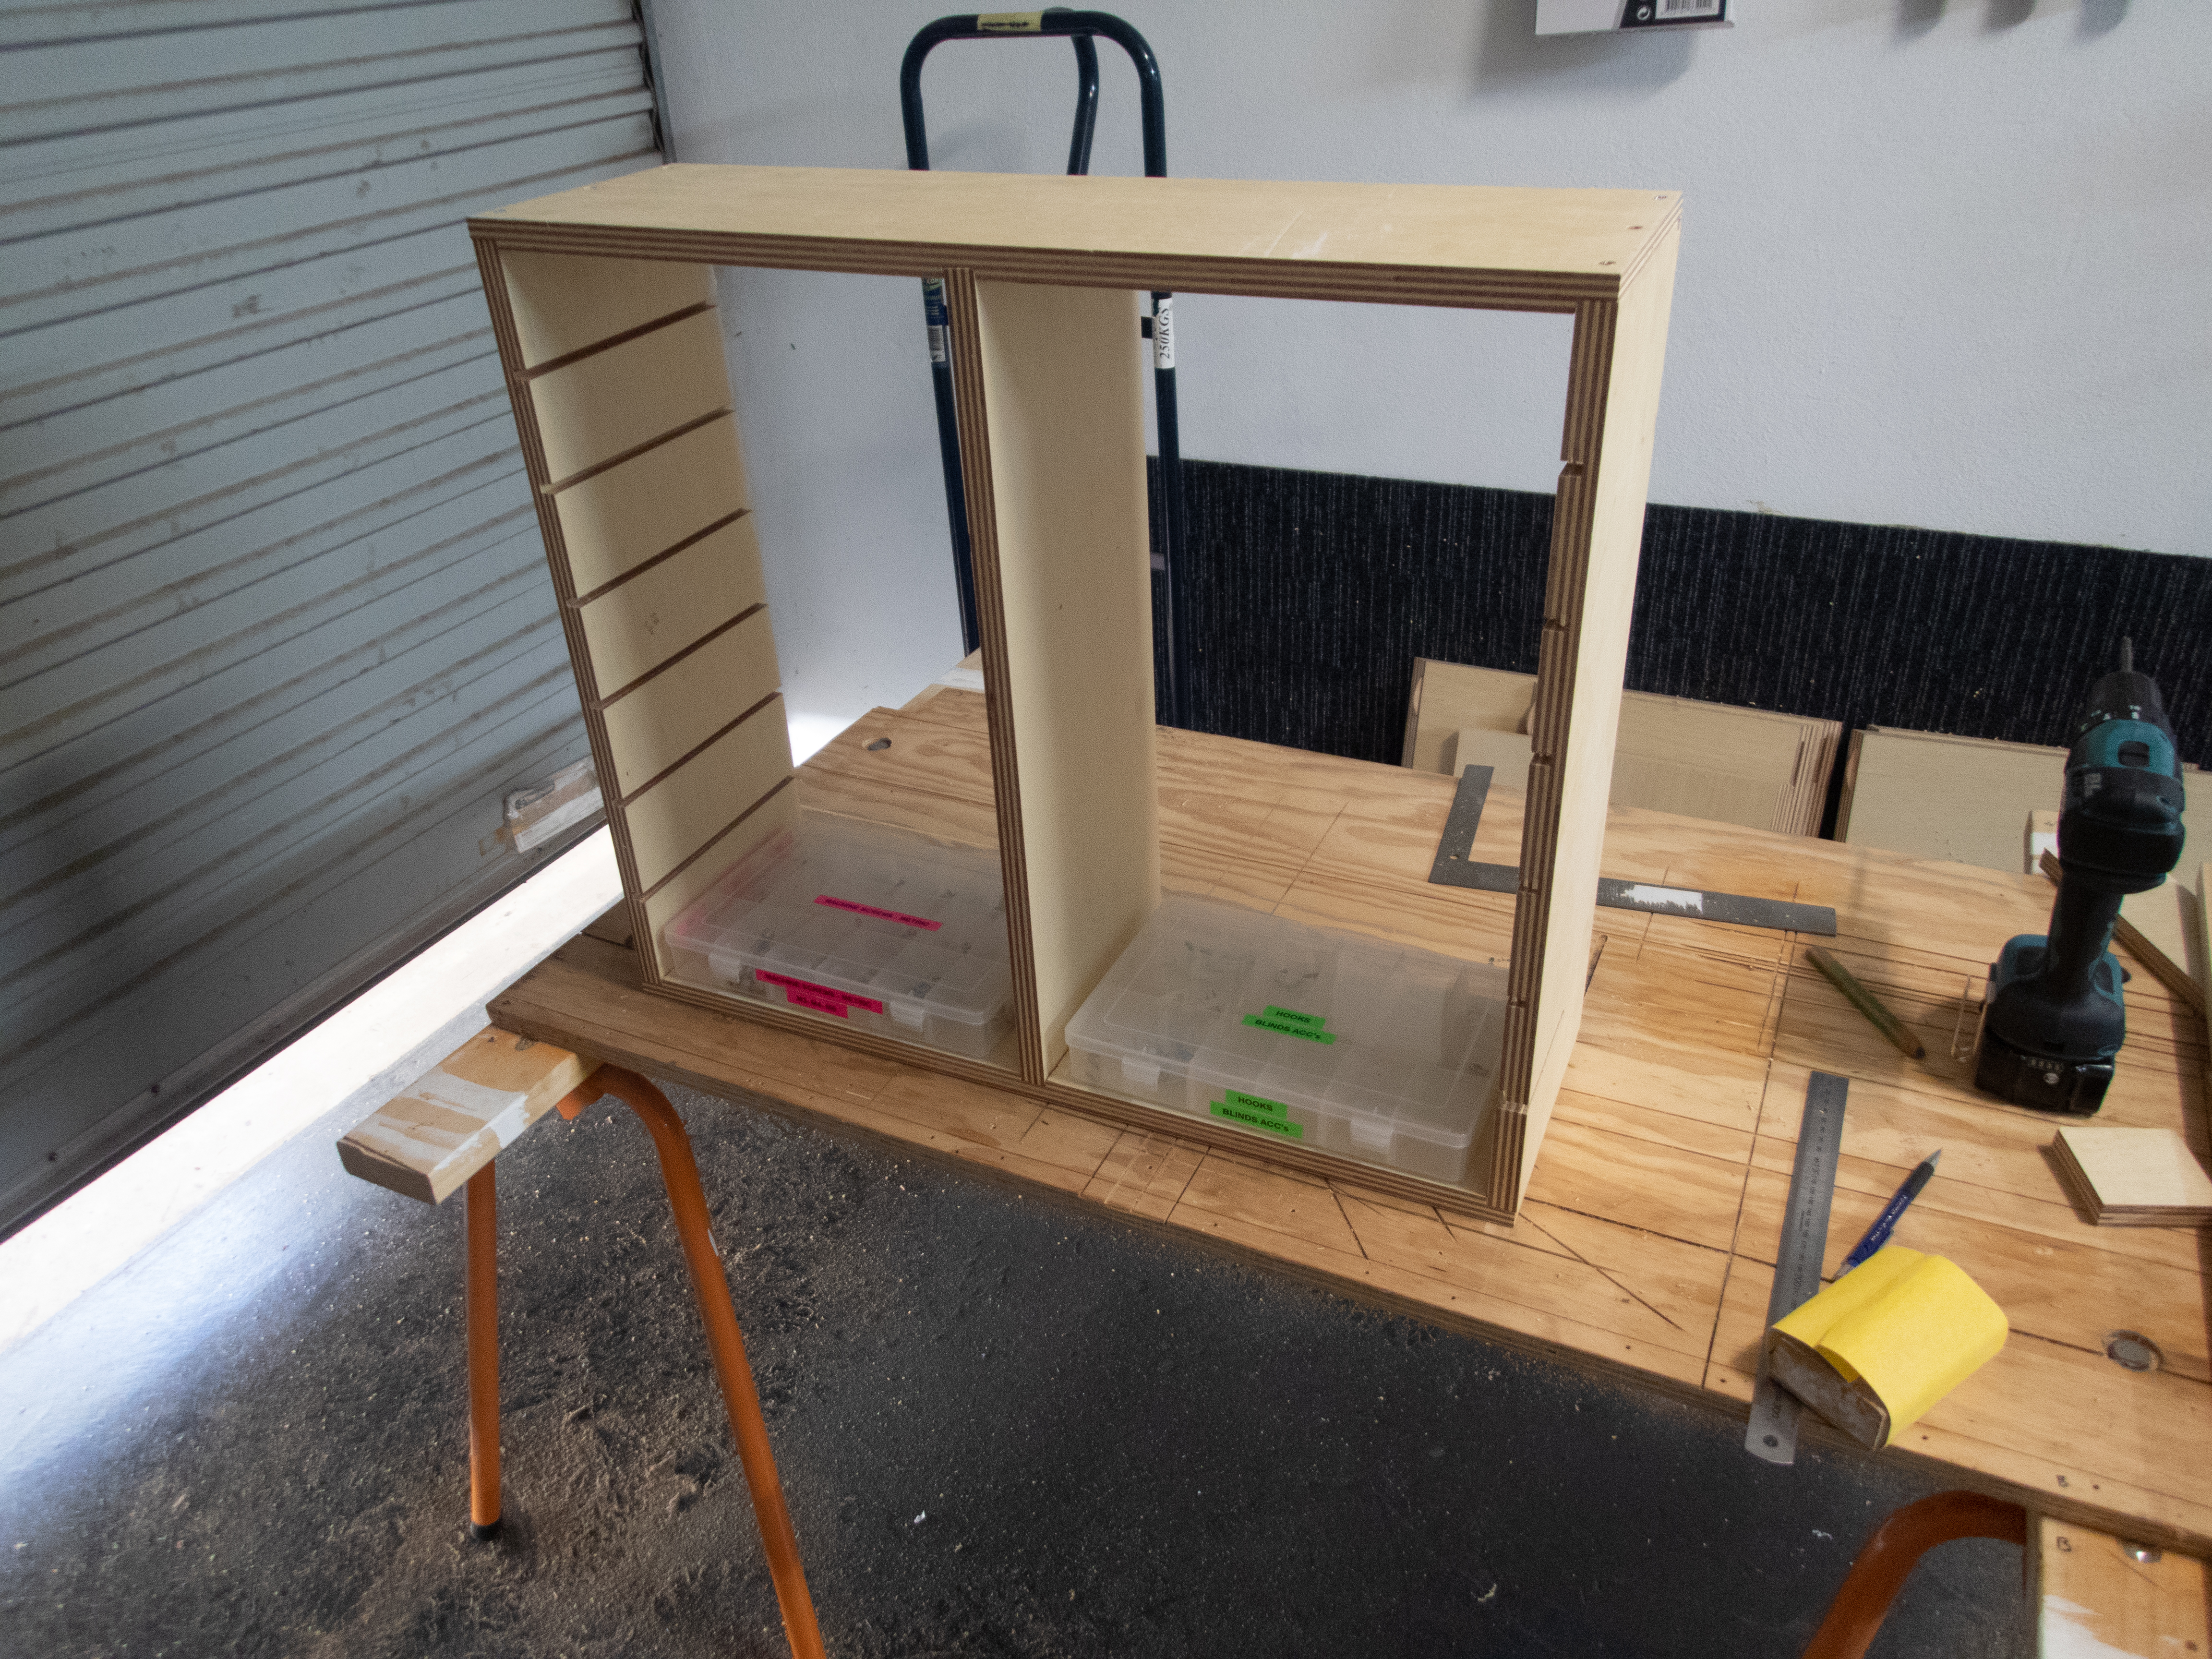
When I went to make a test fit, I immediately realised the shelves were too short! I got my tape measure out and measured the distance from the end stop to the edge of the straight edge reference – perfect, nothing’s moved. My problem was the saw blade! I didn’t make an allowance for the saw blade width which is about 4mm wide! I should have fed my material up to an endstop on the opposite side of my cross cut jig!
Anyway, I’ll have to keep soldiering on and compensate for the short shelf pieces by reducing the depth of the groove in the centre support piece. To set the position for each shelf on the centre support piece, I thought I’d transfer the position of the groove from the corresponding side piece. I’m not sure if this was the best approach, but it seemed to work ok but it wasn’t very time efficient. A cross cut sled for a table router would be a faster method probably.


I began to loose my patience with how fiddly and slow it was cutting the grooves in the centre piece so I only did one side for the day.

So, wrapping up things left to do:
- Finish routing grooves in the centre piece
- Figure out a way to hide/fix the excessive groove depth because each shelf is too short.
Things learnt:
- Custom jigs take a bit of time to make, but speed up the job overall
- Make a test cut with a custom jig to ensure that it works as expected
- YouTube makes things look a whole lot faster than it actually takes
Next and final installment here.

One thought on “Plastic Parts Organiser Rack Part 2”