Continuing on from the last update, half of the grooves had been cut into the centre support piece.


Continuing on from the last update, half of the grooves had been cut into the centre support piece.
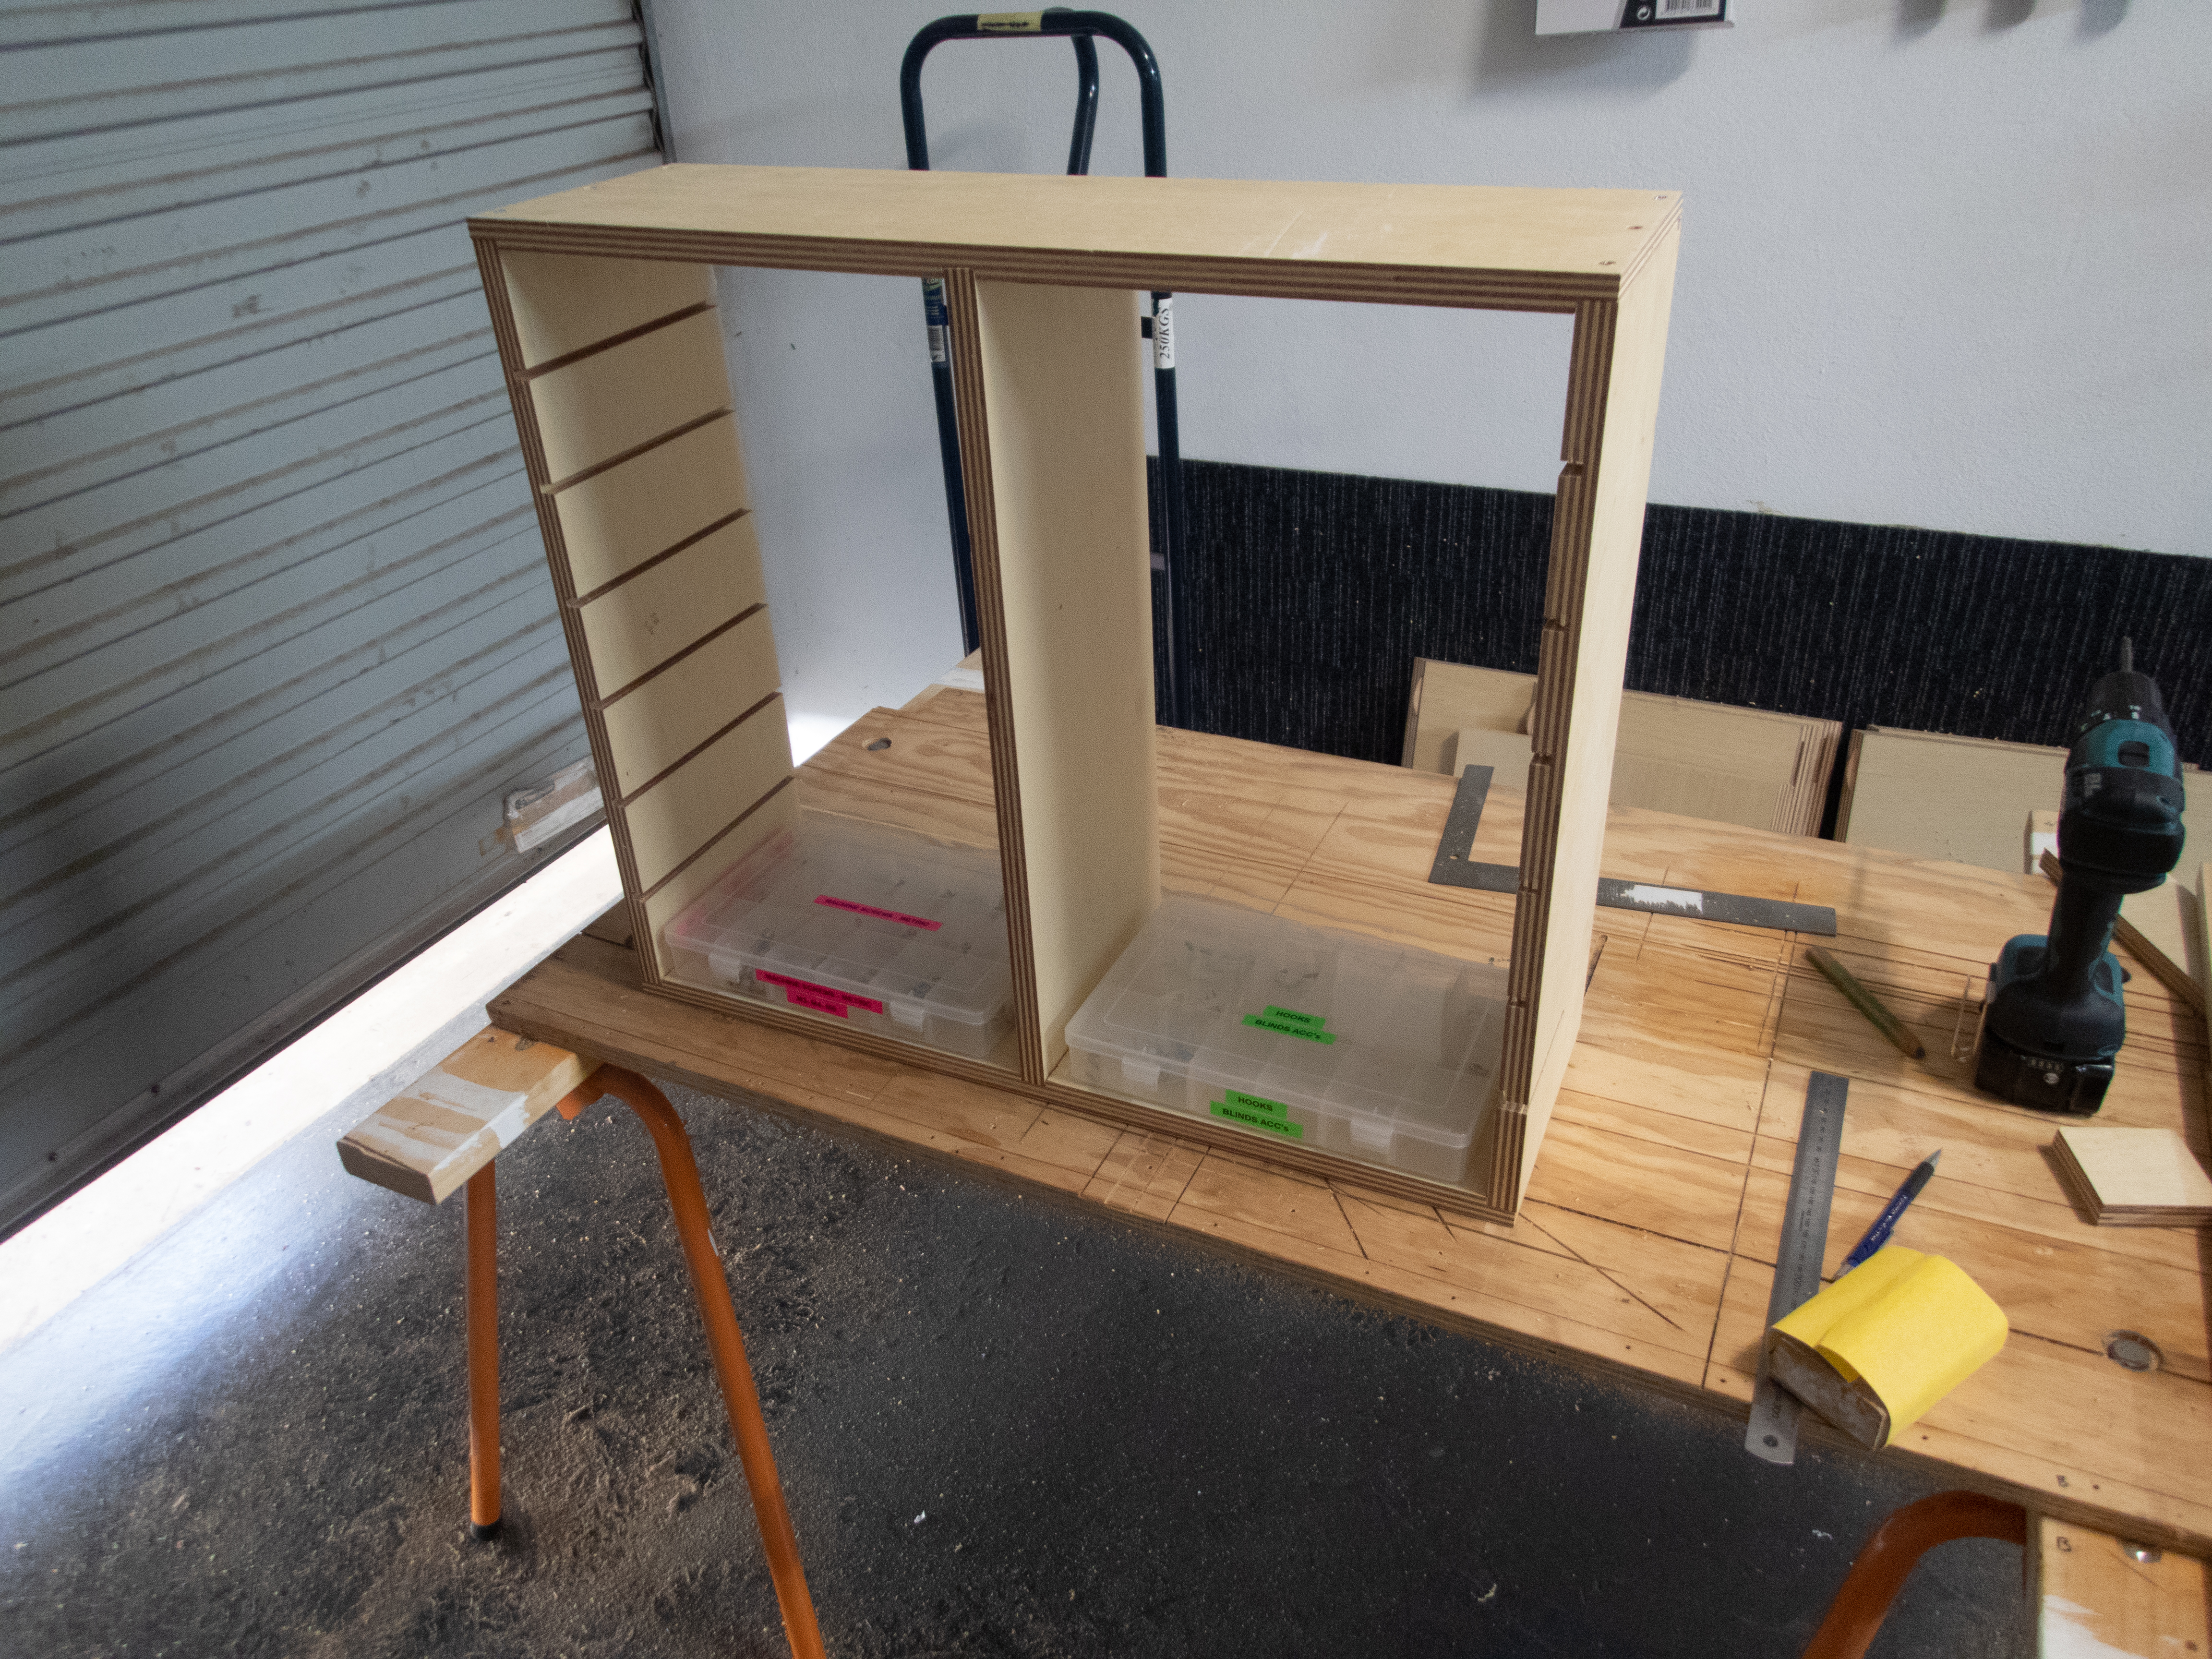
Following on from where we last left off, its time to make some shelves for the rack.
The week before I picked up a piece of 7mm plywood from a building scrap supplier just north of Wollongong for $5. The piece was 2400mm long by 500mm wide and was a perfect candidate to cut up into shelf pieces. It was a bit weathered so I gave it a quick sand and then cut it into 200mm wide pieces. I got a bit creative with supporting the piece (the shop vacuum was a near perfect height) as I cut it with the circular saw – probably not the best approach though as it did receive a war-wound.


So, I’ve been on a prolonged mission to get the garage workshop a bit more organised. One thing that had frustrated me was having screws, bolts, nuts etc in small jars and packets in different places. Not knowing what I had caused me to buy doubles of common items and then it was a hassle finding things.
To get sorted, I bought a bunch of plastic organiser trays (they happened to be on a clearance sale so I bought double 🙂 ). Filling all the trays and labeling them all was very therapeutic and has been a huge improvement in itself. However, all the trays are currently sitting on the garage floor 😦 .

To fix this problem, its time to build a custom shelf with individual trays to slide each organiser into. Also, this was a good opportunity to learn how to use the plunge router I picked up at Dapto Markets (there’ll be plenty of mistakes and misadventures to report about ![]() ).
).
The shelf is essentially a frame with an internal divider and multiple trays.

