
So, I’ve been on a prolonged mission to get the garage workshop a bit more organised. One thing that had frustrated me was having screws, bolts, nuts etc in small jars and packets in different places. Not knowing what I had caused me to buy doubles of common items and then it was a hassle finding things.
To get sorted, I bought a bunch of plastic organiser trays (they happened to be on a clearance sale so I bought double 🙂 ). Filling all the trays and labeling them all was very therapeutic and has been a huge improvement in itself. However, all the trays are currently sitting on the garage floor 😦 .

To fix this problem, its time to build a custom shelf with individual trays to slide each organiser into. Also, this was a good opportunity to learn how to use the plunge router I picked up at Dapto Markets (there’ll be plenty of mistakes and misadventures to report about ![]() ).
).
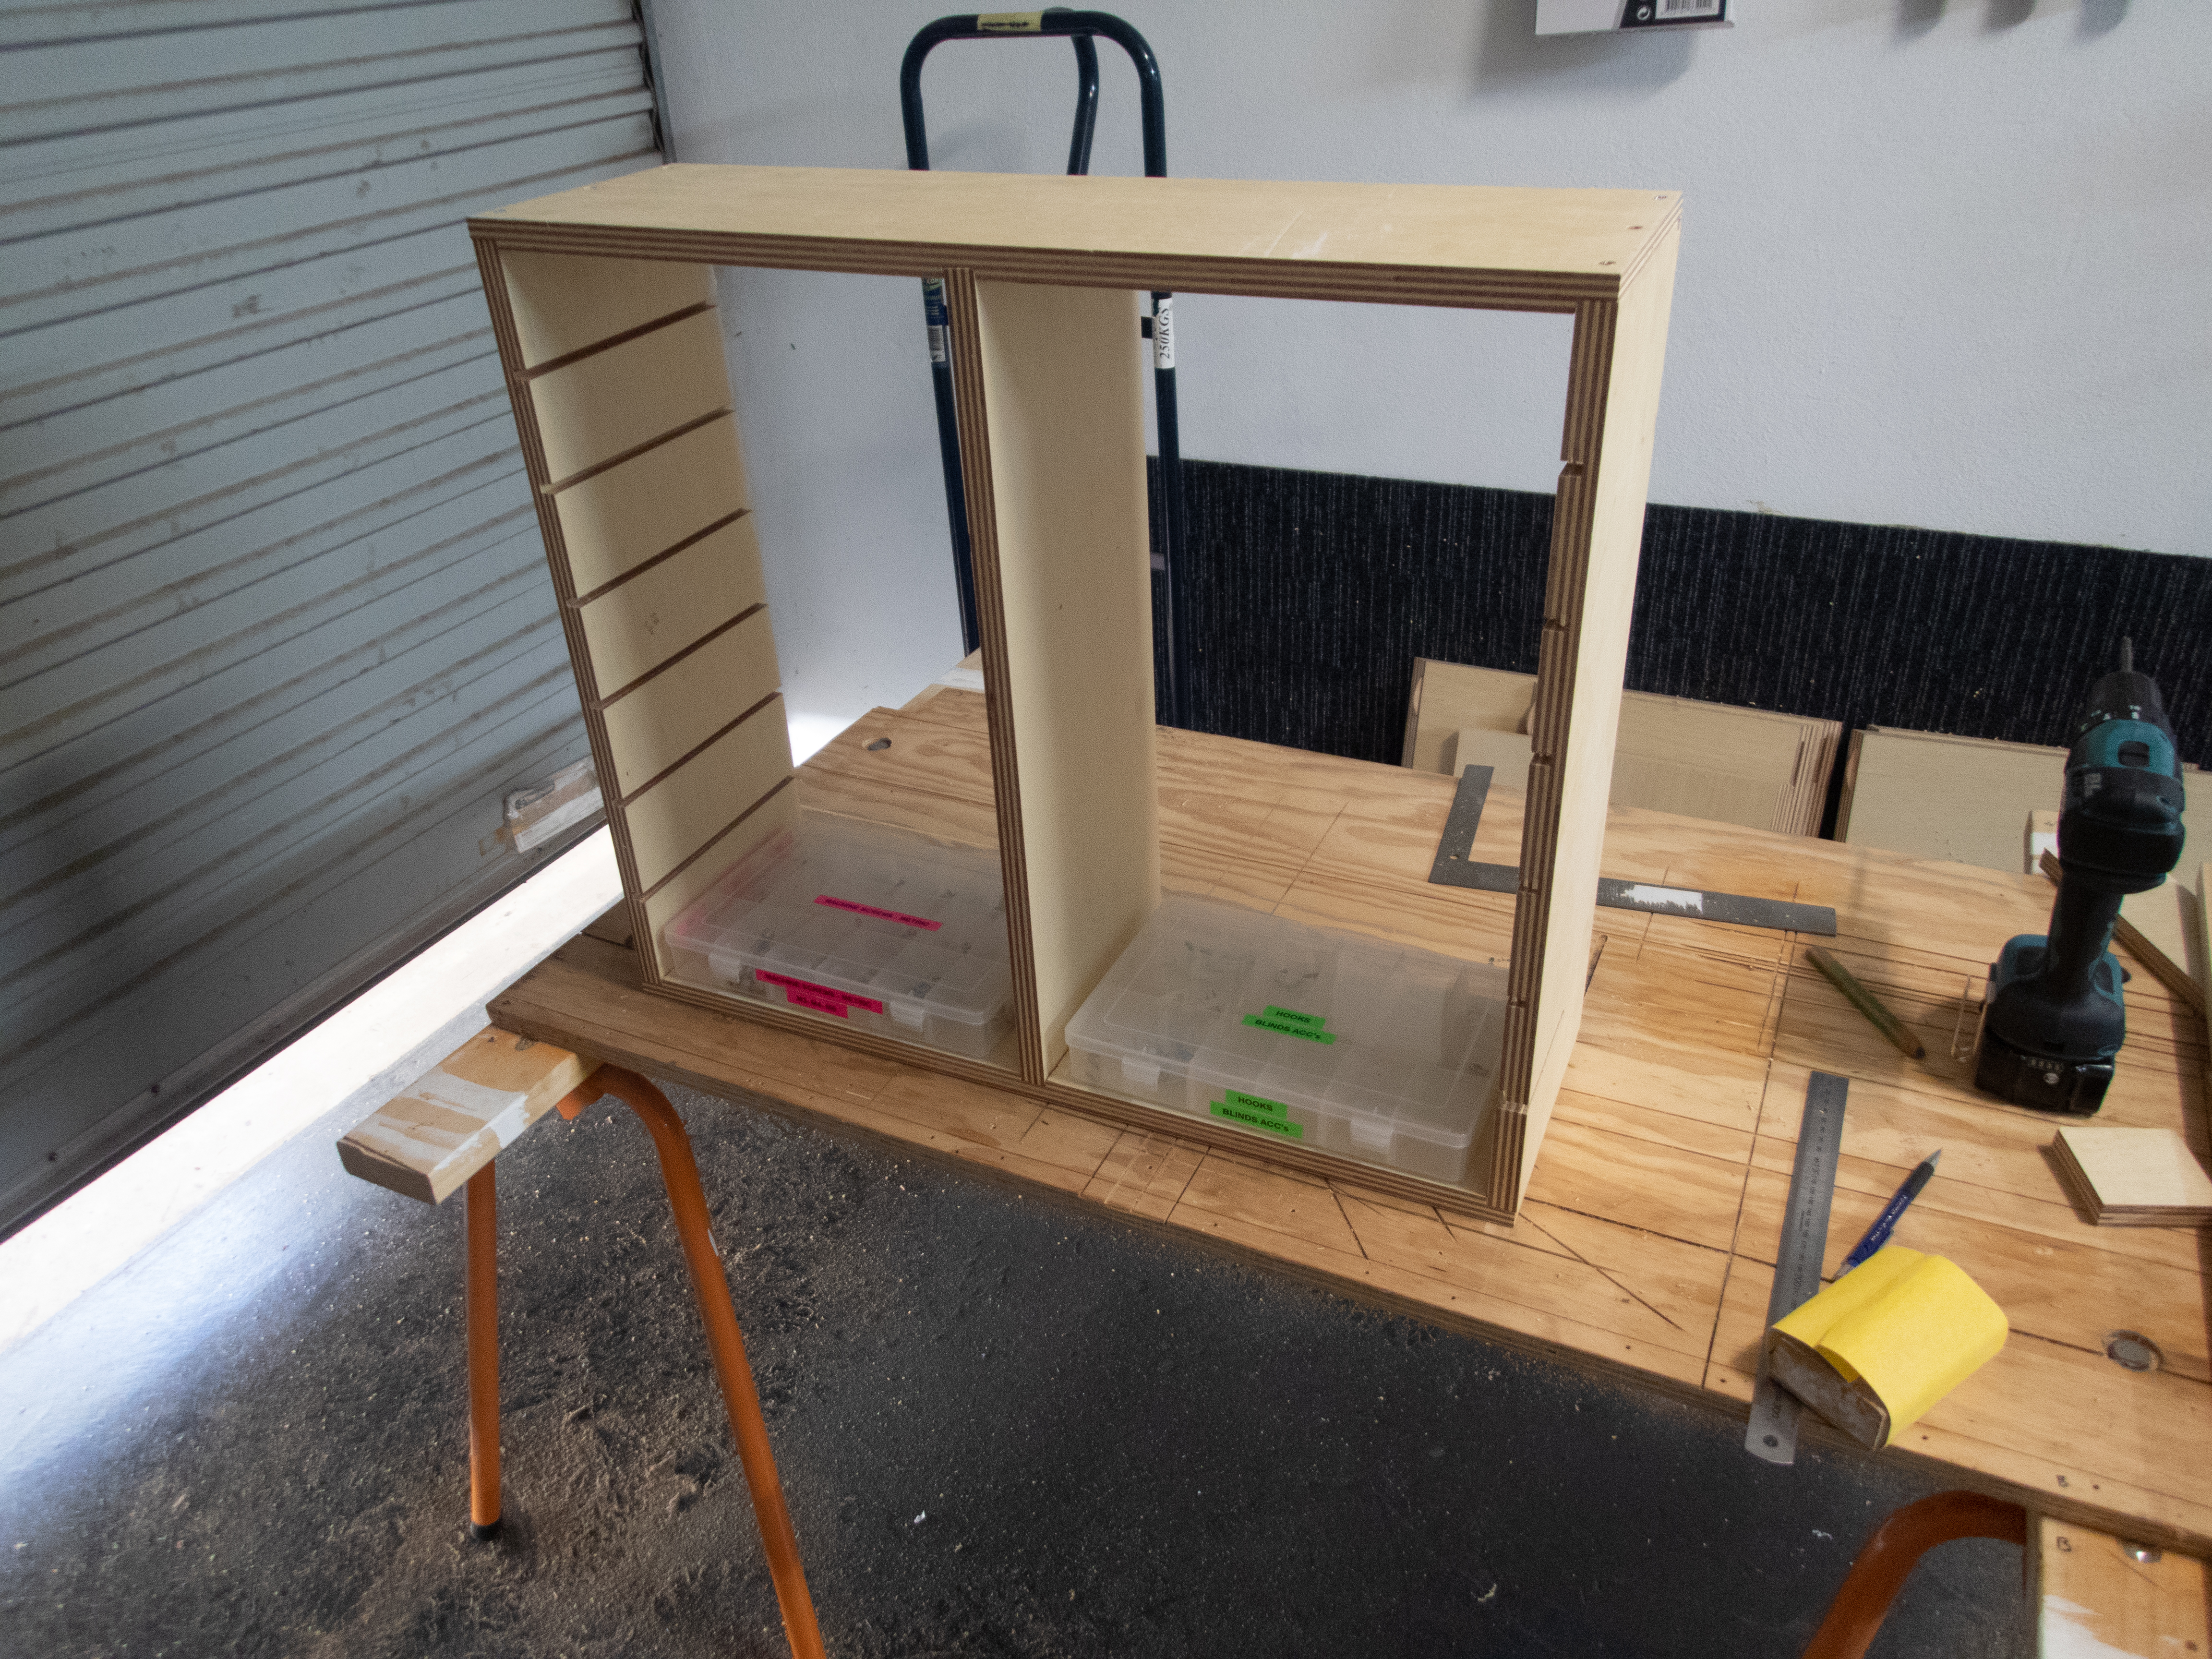
The shelf is essentially a frame with an internal divider and multiple trays.

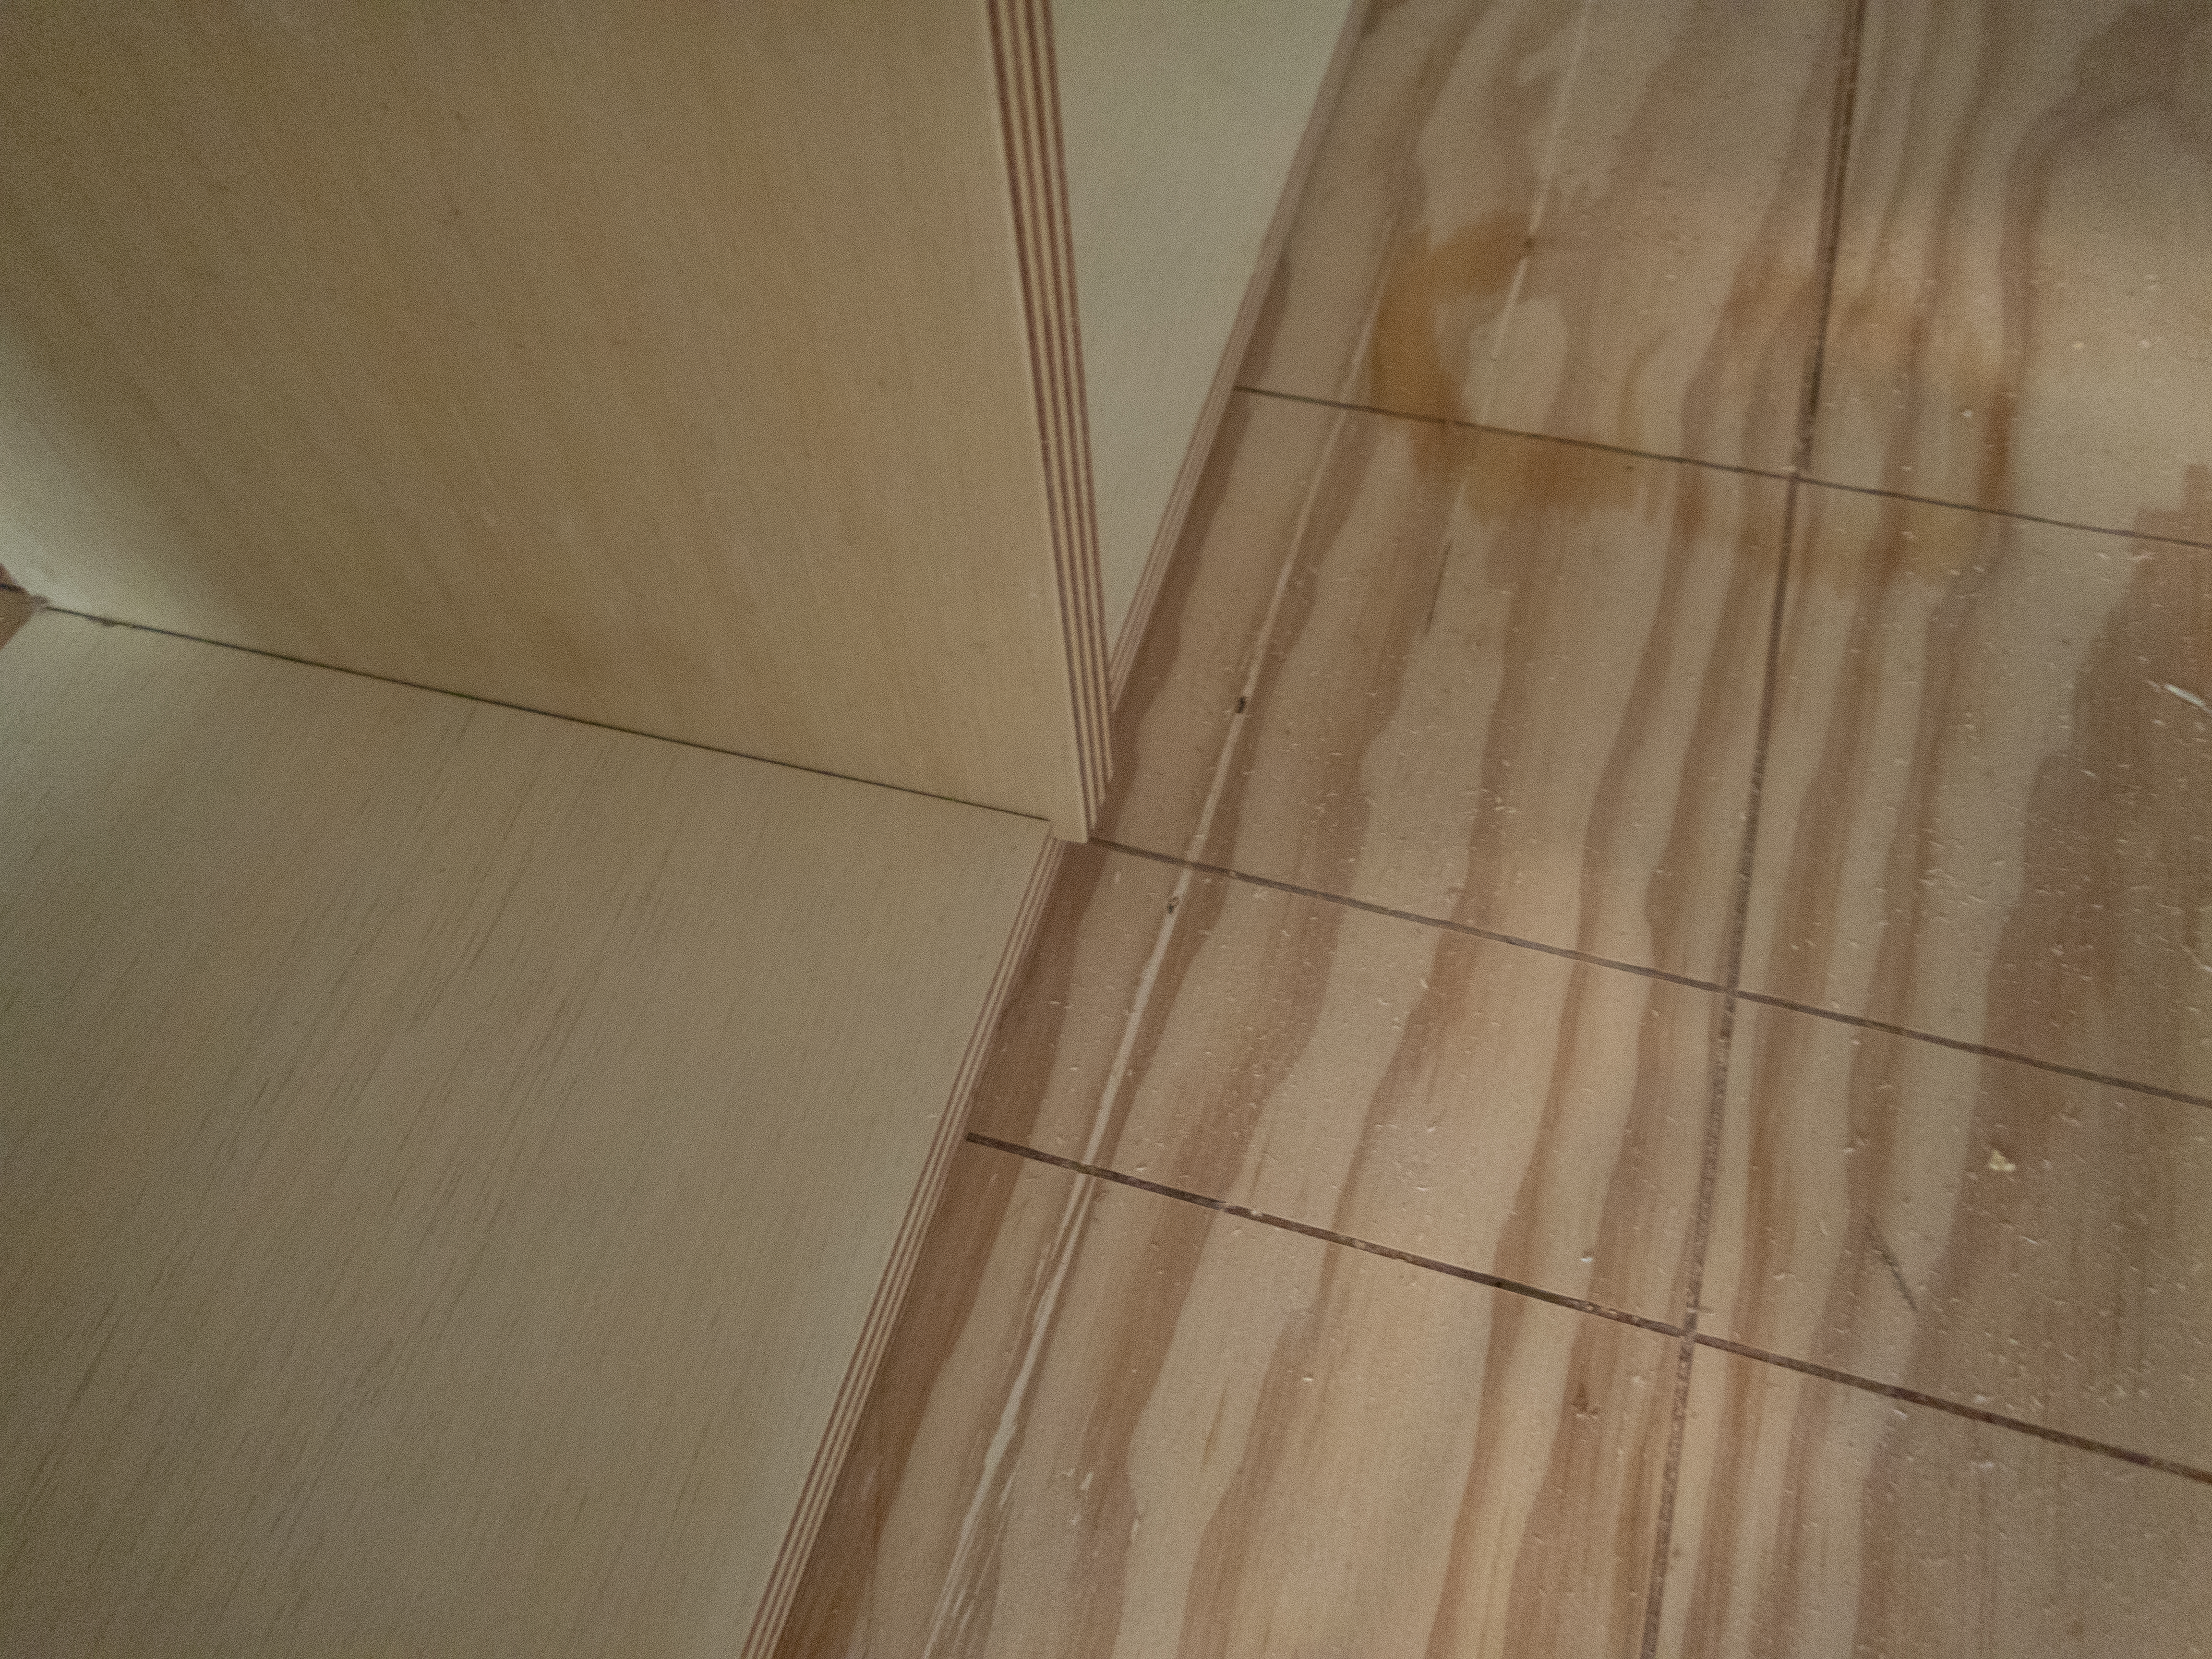
I forgot to take a bunch of photos when doing the grooves because I got a bit frustrated using the router. Basically, I was learning on the fly. I’d made two tests passes and thought I had the hang of it, but I didn’t. There’s a small thumbwheel on the side that can be used for the depth stop, however, it doesn’t take much downward pressure to overcome the thumbwheel’s lock. When I was pressing down on the router to keep it down in the work, I was basically pushing it down the whole distance and plunging it through a lot of material. It also explains why it felt like I was dragging the thing through molasses. The poor router bit was trying to cut through an inch of Australian hardwood!


Anyway, after a bit of swearing and frustration, I changed my approach after realising there was a plunge lock mechanism. Now I set my desired depth, engage the plunge lock, route, stop, increase the depth stop, relock the plunge mechanism and take the next pass.
Another lesson learned was the need to ensure my edge guide is very secure. When you’re moving the router, there’s a lot going on – its loud, you’ve got glasses on, you’re trying to keep a good grip on the tool whilst holding the trigger – and you need to be able to rely on the edge guide and workpiece being secure. If the edge guide or workpiece moves, you bugger it up!

Next to do was make a large groove/recess down the centre of the top and bottom pieces to hold the vertical divider. Learning from my mistakes, the edge guide was held securely.


Now the top piece could be temporarily secured in place so I can measure how long the internal vertical divider needs to be.

Securing the top to the sides involved using regular wood screws. During the week I picked up some countersinking drills to see if they are any good.

Normally I’d pilot drill the hole and then countersink the hole so the wood screw’s head would sit flush, this doesn’t produce the cleanest finish and its an extra step. I was hoping that the new drill bit gave a better finish and was faster.


I’ll be using the countersink pilot drill bit again because its is much faster and the finish is far superior to my old way.
Placing the internal divider into position, I could mark its required length.

Once the divider was cut to length, a test fit could be made.

The internal divider needs to be trimmed down in width a bit. Something has moved when I was cutting all the pieces to width.
Its starting to look like something useful.
Ok, so things remaining to do are:
- transfer the position of the grooves to the internal divider
- cut the internal divider grooves
- cut all the shelves
- I’m thinking I’d like to route a hand-hold in each shelf so each divider can be grabbed easily
- fix the gouges. I think I might fill them with epoxy. I don’t want to hide them because they’ll serve a reminder of the mistakes I’ve made and what I’ve learned.
- mount it on the wall
Mistakes made and lessons learned:
- The router’s depth stop needs to be used in conjunction with the plunge lock
- If the router seems to be bogging down, its cutting too much material – Use the plunge lock!
- Drill with countersink bit works well and gives cleaner finish.
- Edge guides need to be firmly secured!

One thought on “Plastic Parts Organisers Rack”