
Continuing on from the last update, half of the grooves had been cut into the centre support piece.

Before doing the remaining grooves, I thought I’d trim down the width of the centre support piece which had been cut too wide.
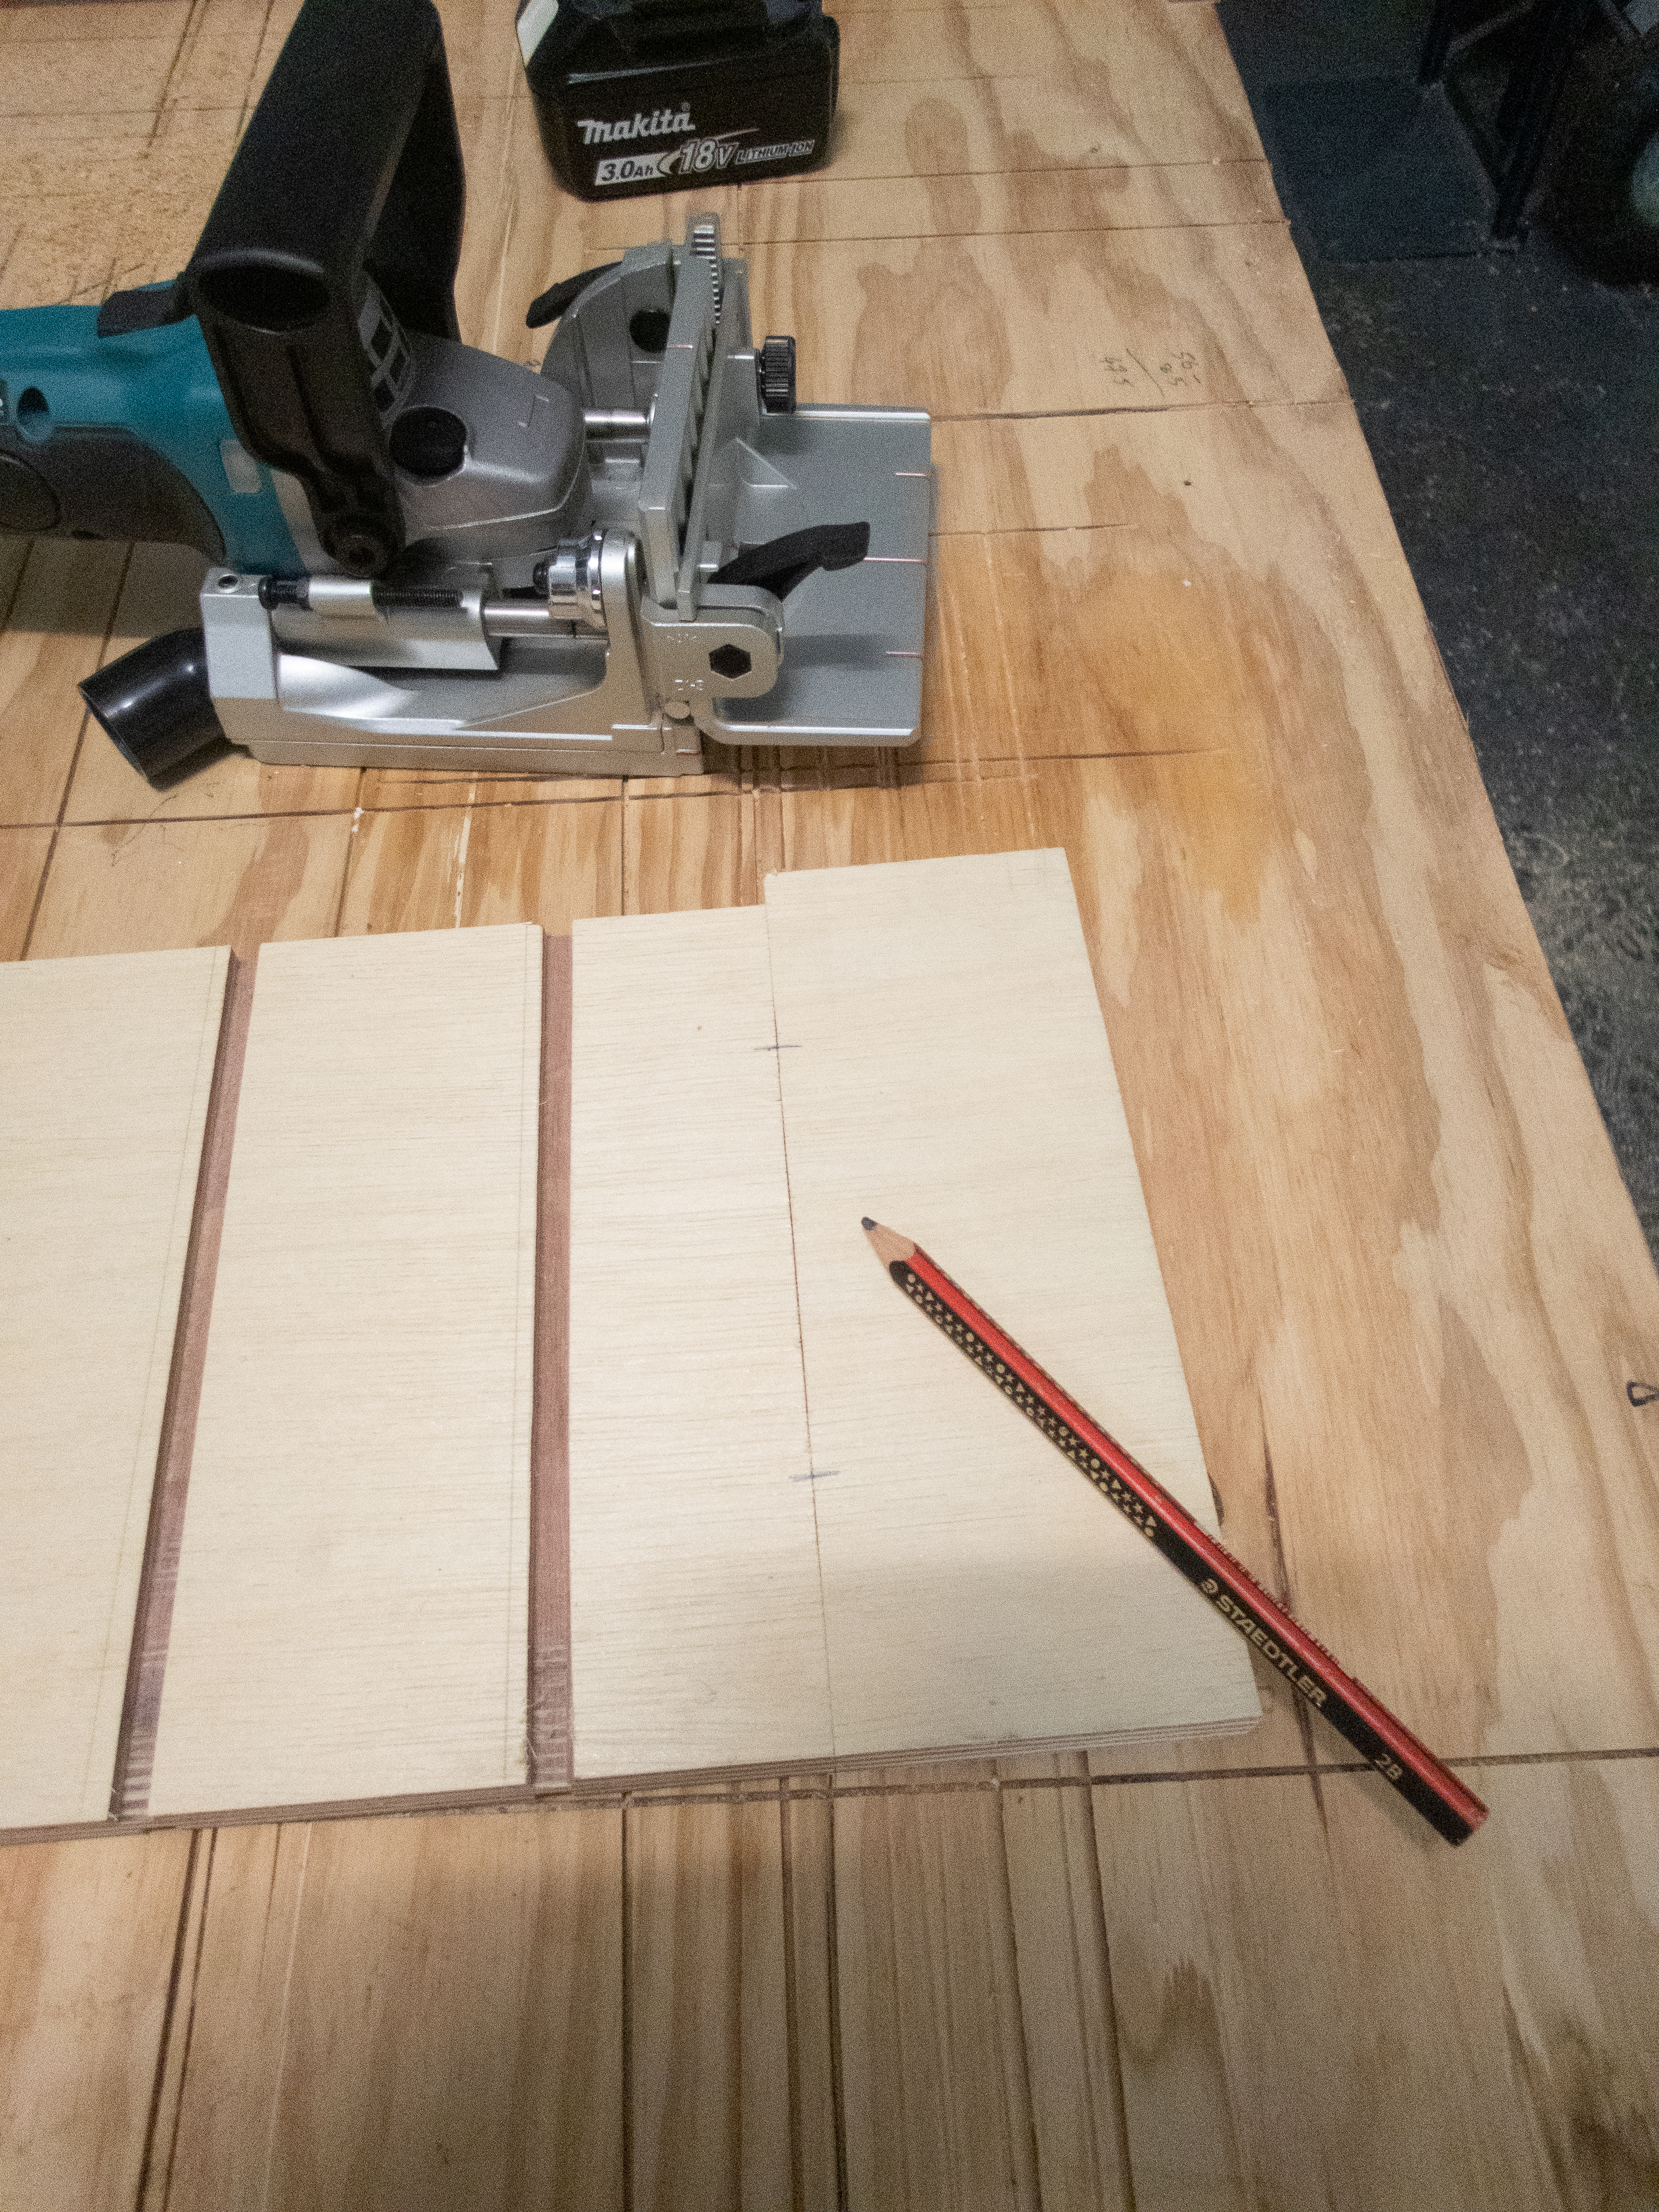
I’m coming to realise that woodworking is a bit more art than science. Yes, you can make all the measurements in the world, but sometimes you just need to cut the piece to size from a test fit. So, instead of taking a measurement of how much I needed to remove at the top and bottom, using a pencil I marked the positions at the top and bottom I wanted the cut. Then using my new circular saw straight edge I lined up the two marks and made the cut. Probably only needed to take 5mm off overall.


Now, the moment of truth. Did my carefree approach without any formal measuring pay off?


Yes. I’m pleased with the results and I’ll use this method again. In retrospect, I should have used this approach for the positioning of the centre support piece. When I look at it, the centre support piece is not entirely square to the top and bottom. This could have been fixed by holding the centre support piece in the required position with a square and then marking the required locations to make the grooves which hold the centre piece. Rather than trying to work out where to make the grooves from measurements.
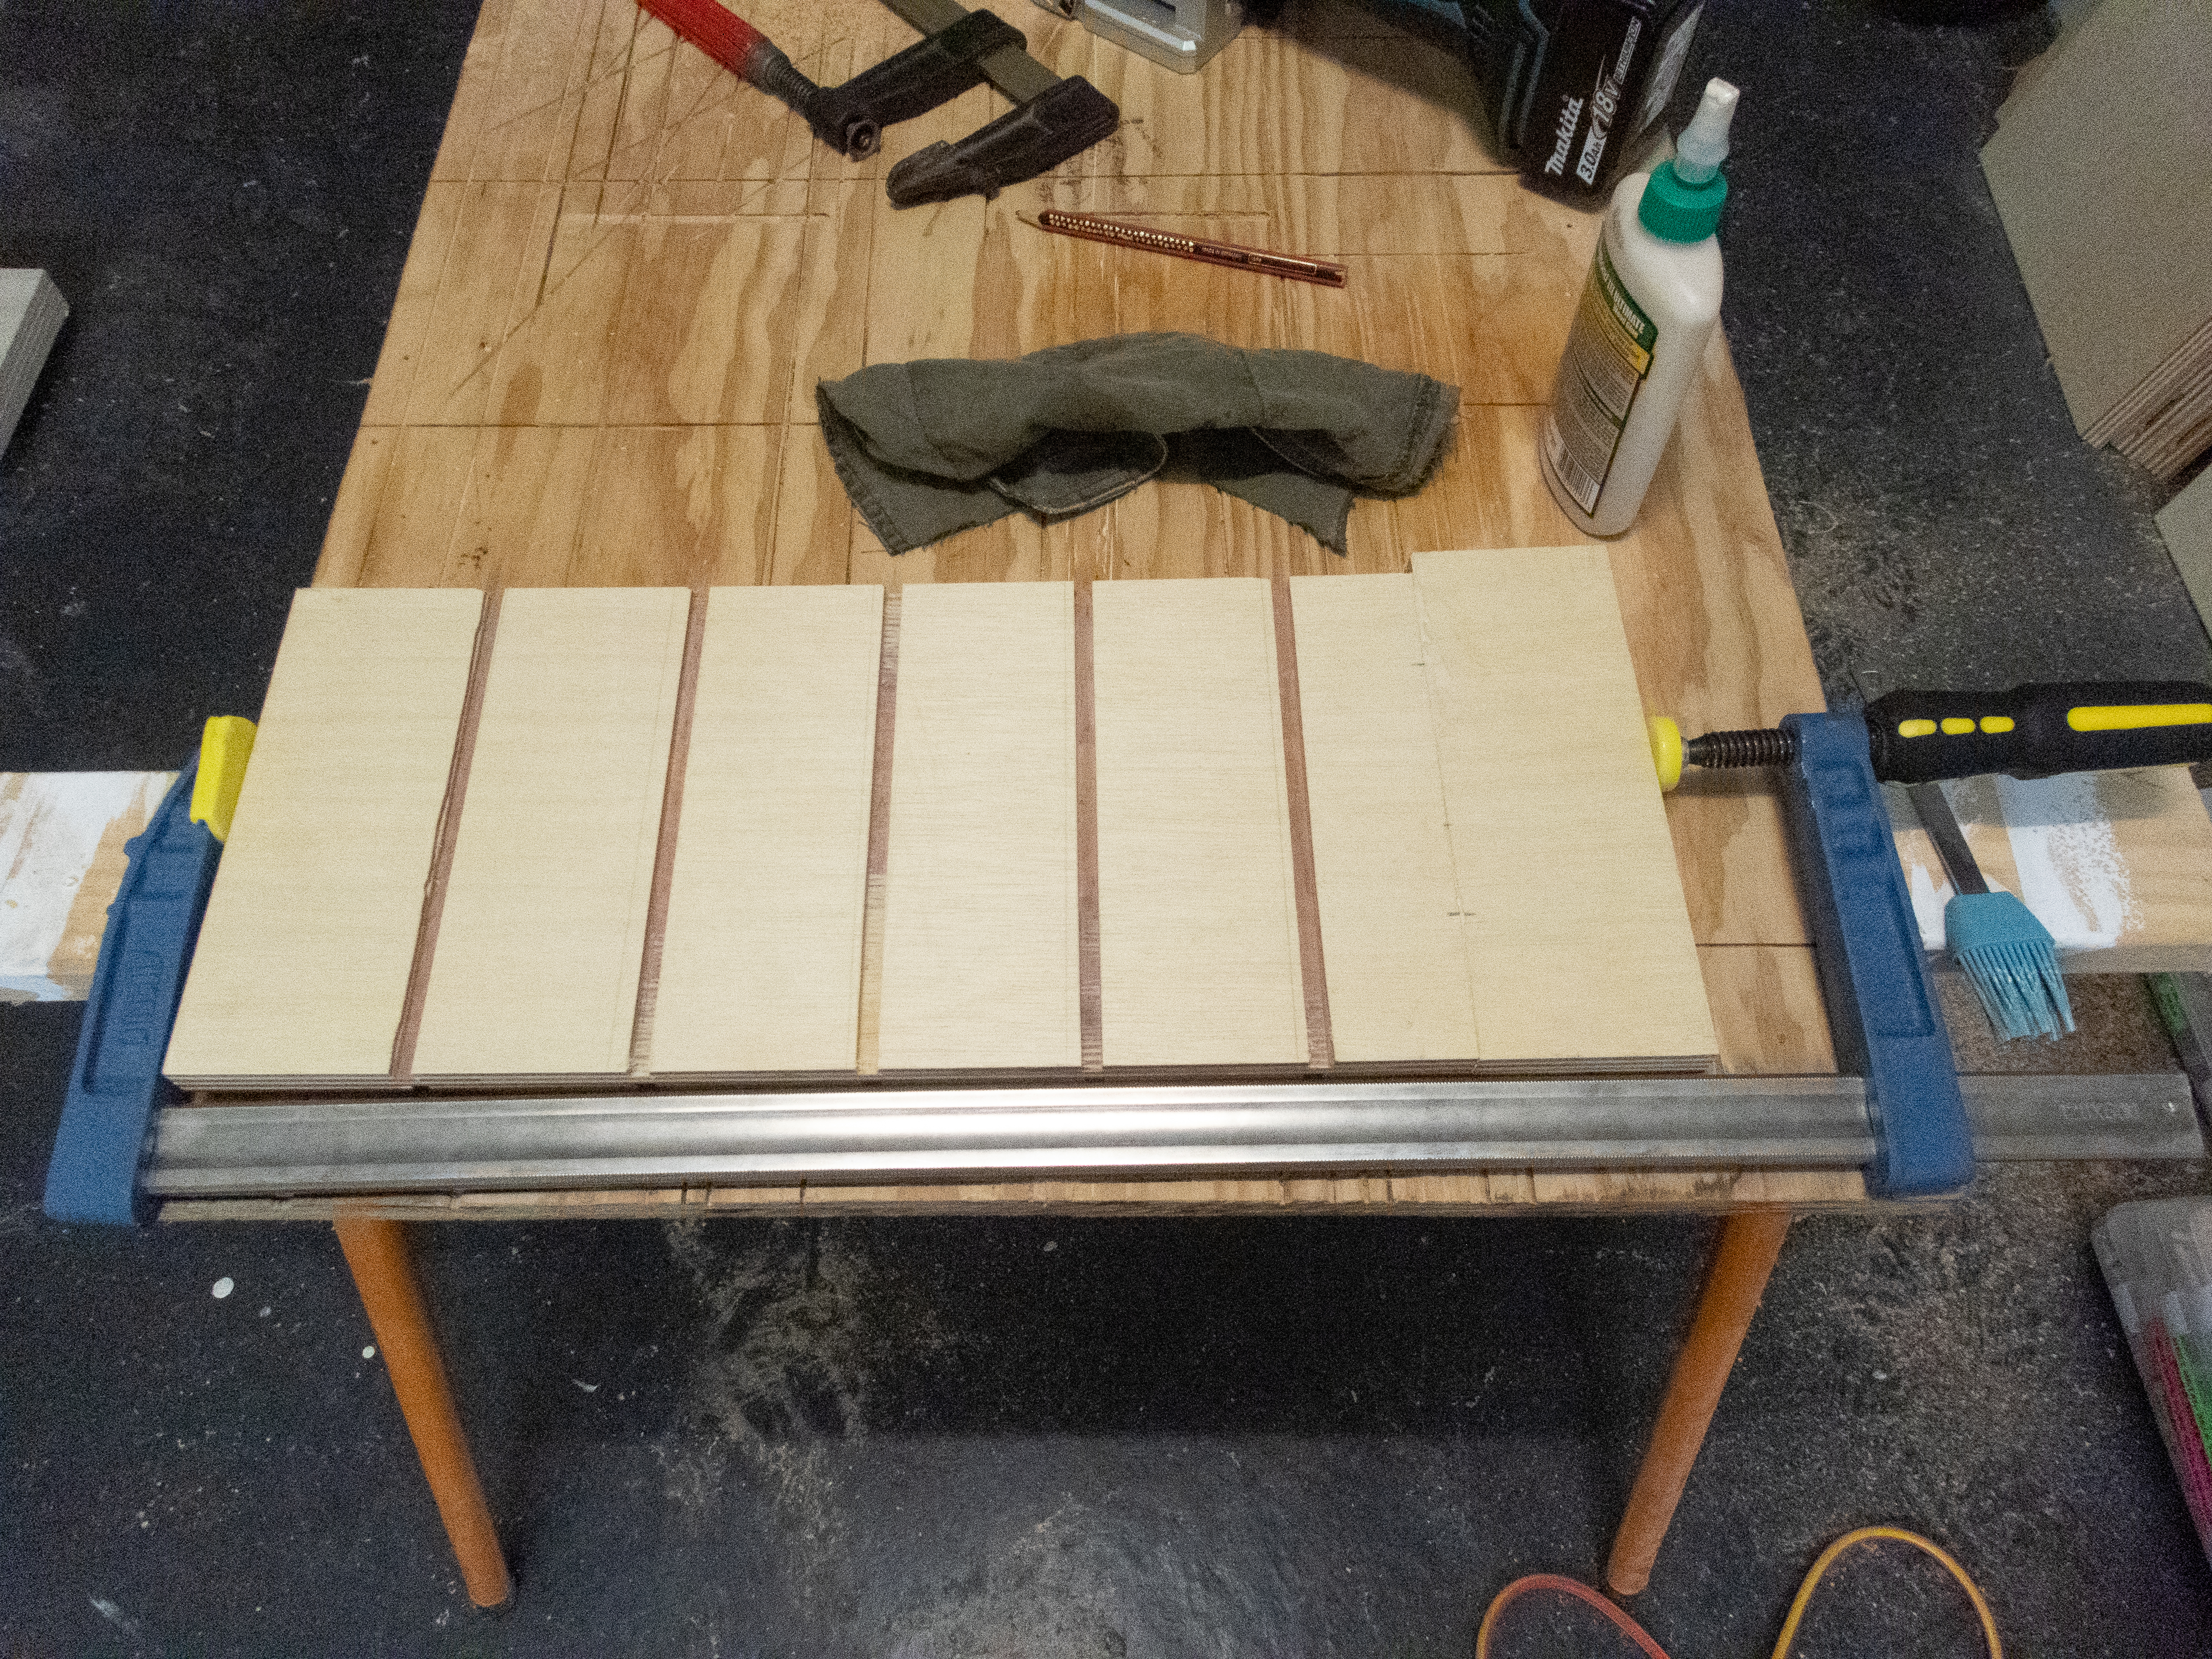
OK, time to cut the remaining grooves for the shelves.
Setting the depth stop for the plunge router has been a bit of a pain and prone to unreliability. Sometimes when you push down, the plunge mechanism feels as though it catches. When this happens, I have to give the router a bit of a shove downwards to get it to move. However, if I’m too forceful, the downward force can cause the depth stop adjustment to slam together putting it out of adjustment. When this occurs, the whole depth stop has to be reset. Anyway that’s the background story.
So, when I went to make the 2nd pass (at 6mm depth. I was making 3mm passes – you can’t do the full cut in one pass) for the remaining grooves, the router felt heavy. I should have stopped.
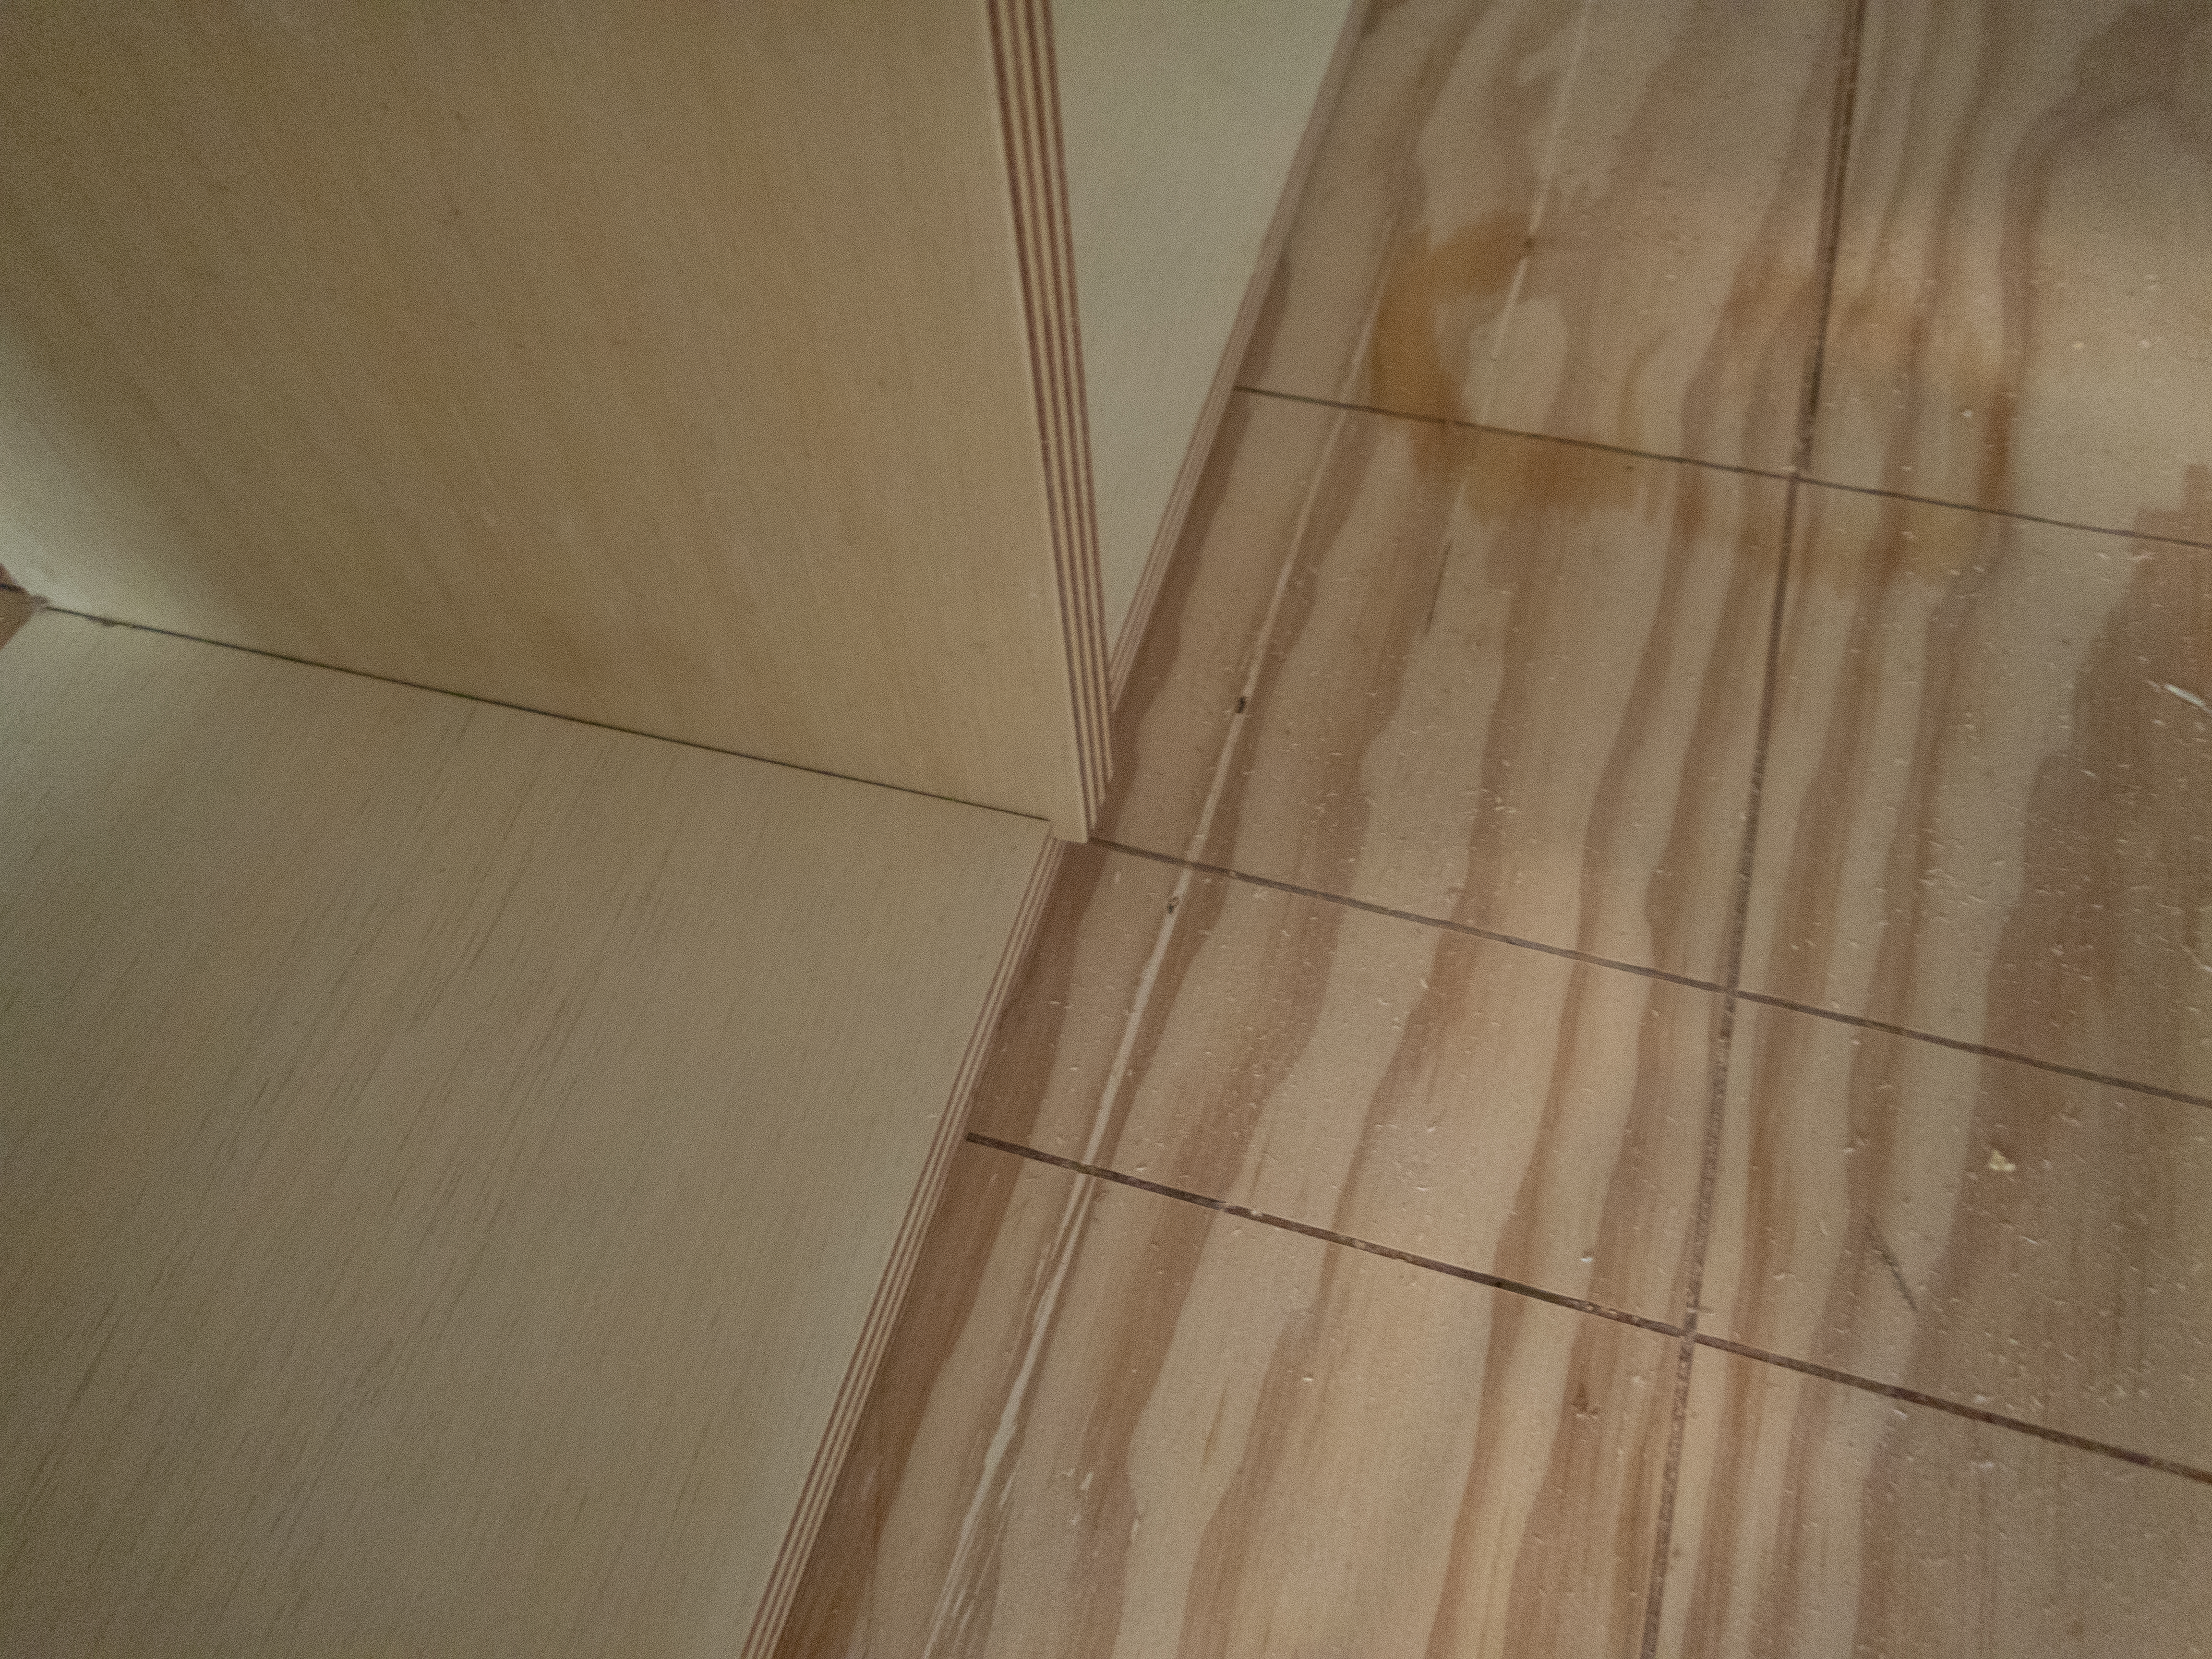
I couldn’t believe it. The router cut straight through the plywood! I started to question my maths; 6mm deep grooves on each side is 12mm. The plywood was 18mm thick. My maths says there should have been 6mm of material remaining.
I checked the router and the depth stop had obviously moved when I pushed down on the router to set the depth for the 2nd pass! Bloody thing! Never having used another router I can’t compare to, but surely a brand name router doesn’t have this problem compared to my Aldi cheapo router?
So, I need to figure out how to fix this without making a completely new centre piece. I’m thinking I’ll trim some length off the ruined piece and using biscuits, make a butt joint with a new piece of plywood. Then route a new groove and cut the centre piece to size. (Trimming the ruined centre piece short ensures the required groove isn’t in the same position as the butt joint.)
Anyway, it took me a few days to think of the proposed fix and I wasn’t terribly happy at the damage I had done, so I moved on to something else; handholds.
I want to make cutouts on each shelf to make grabbing an organiser easier. This detail may not be necessary but I think it’s a good touch.
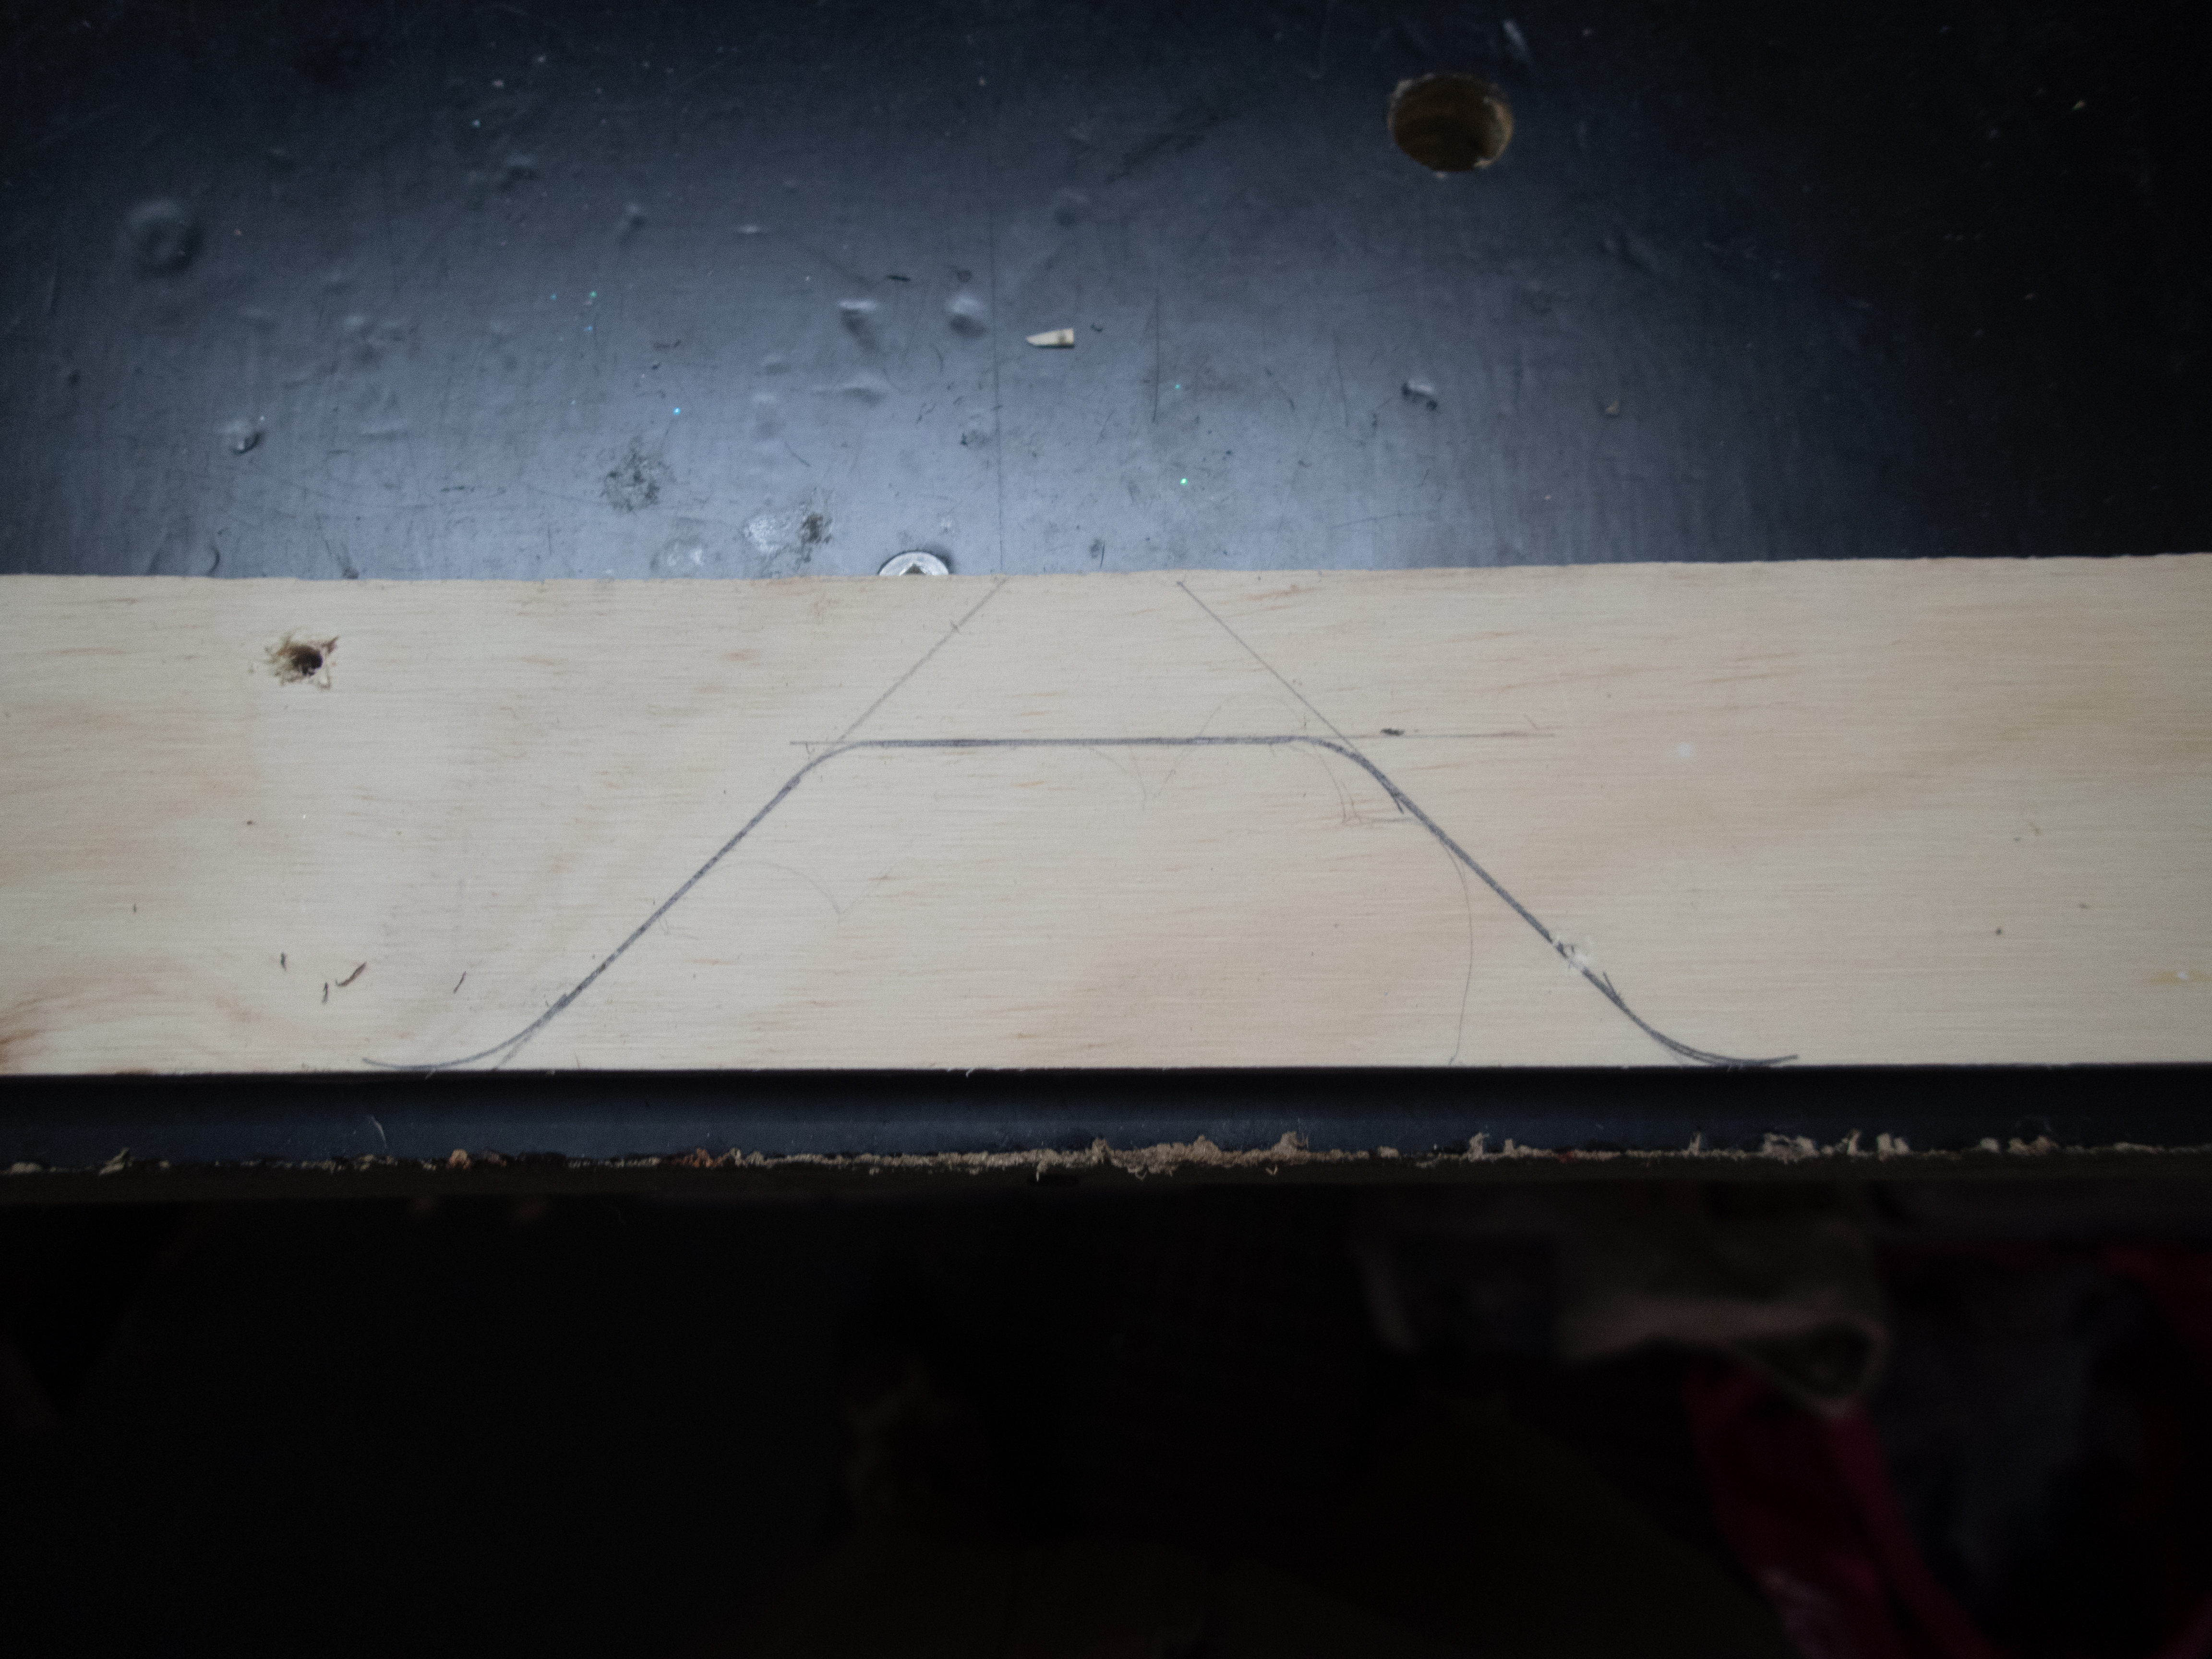
A reason for the cutouts is to prevent bashing my knuckles/fingers on the bottom of the the shelf that is directly above the organiser I am removing. I mocked up the layout of the handhold, joined the dots and cut out a template.


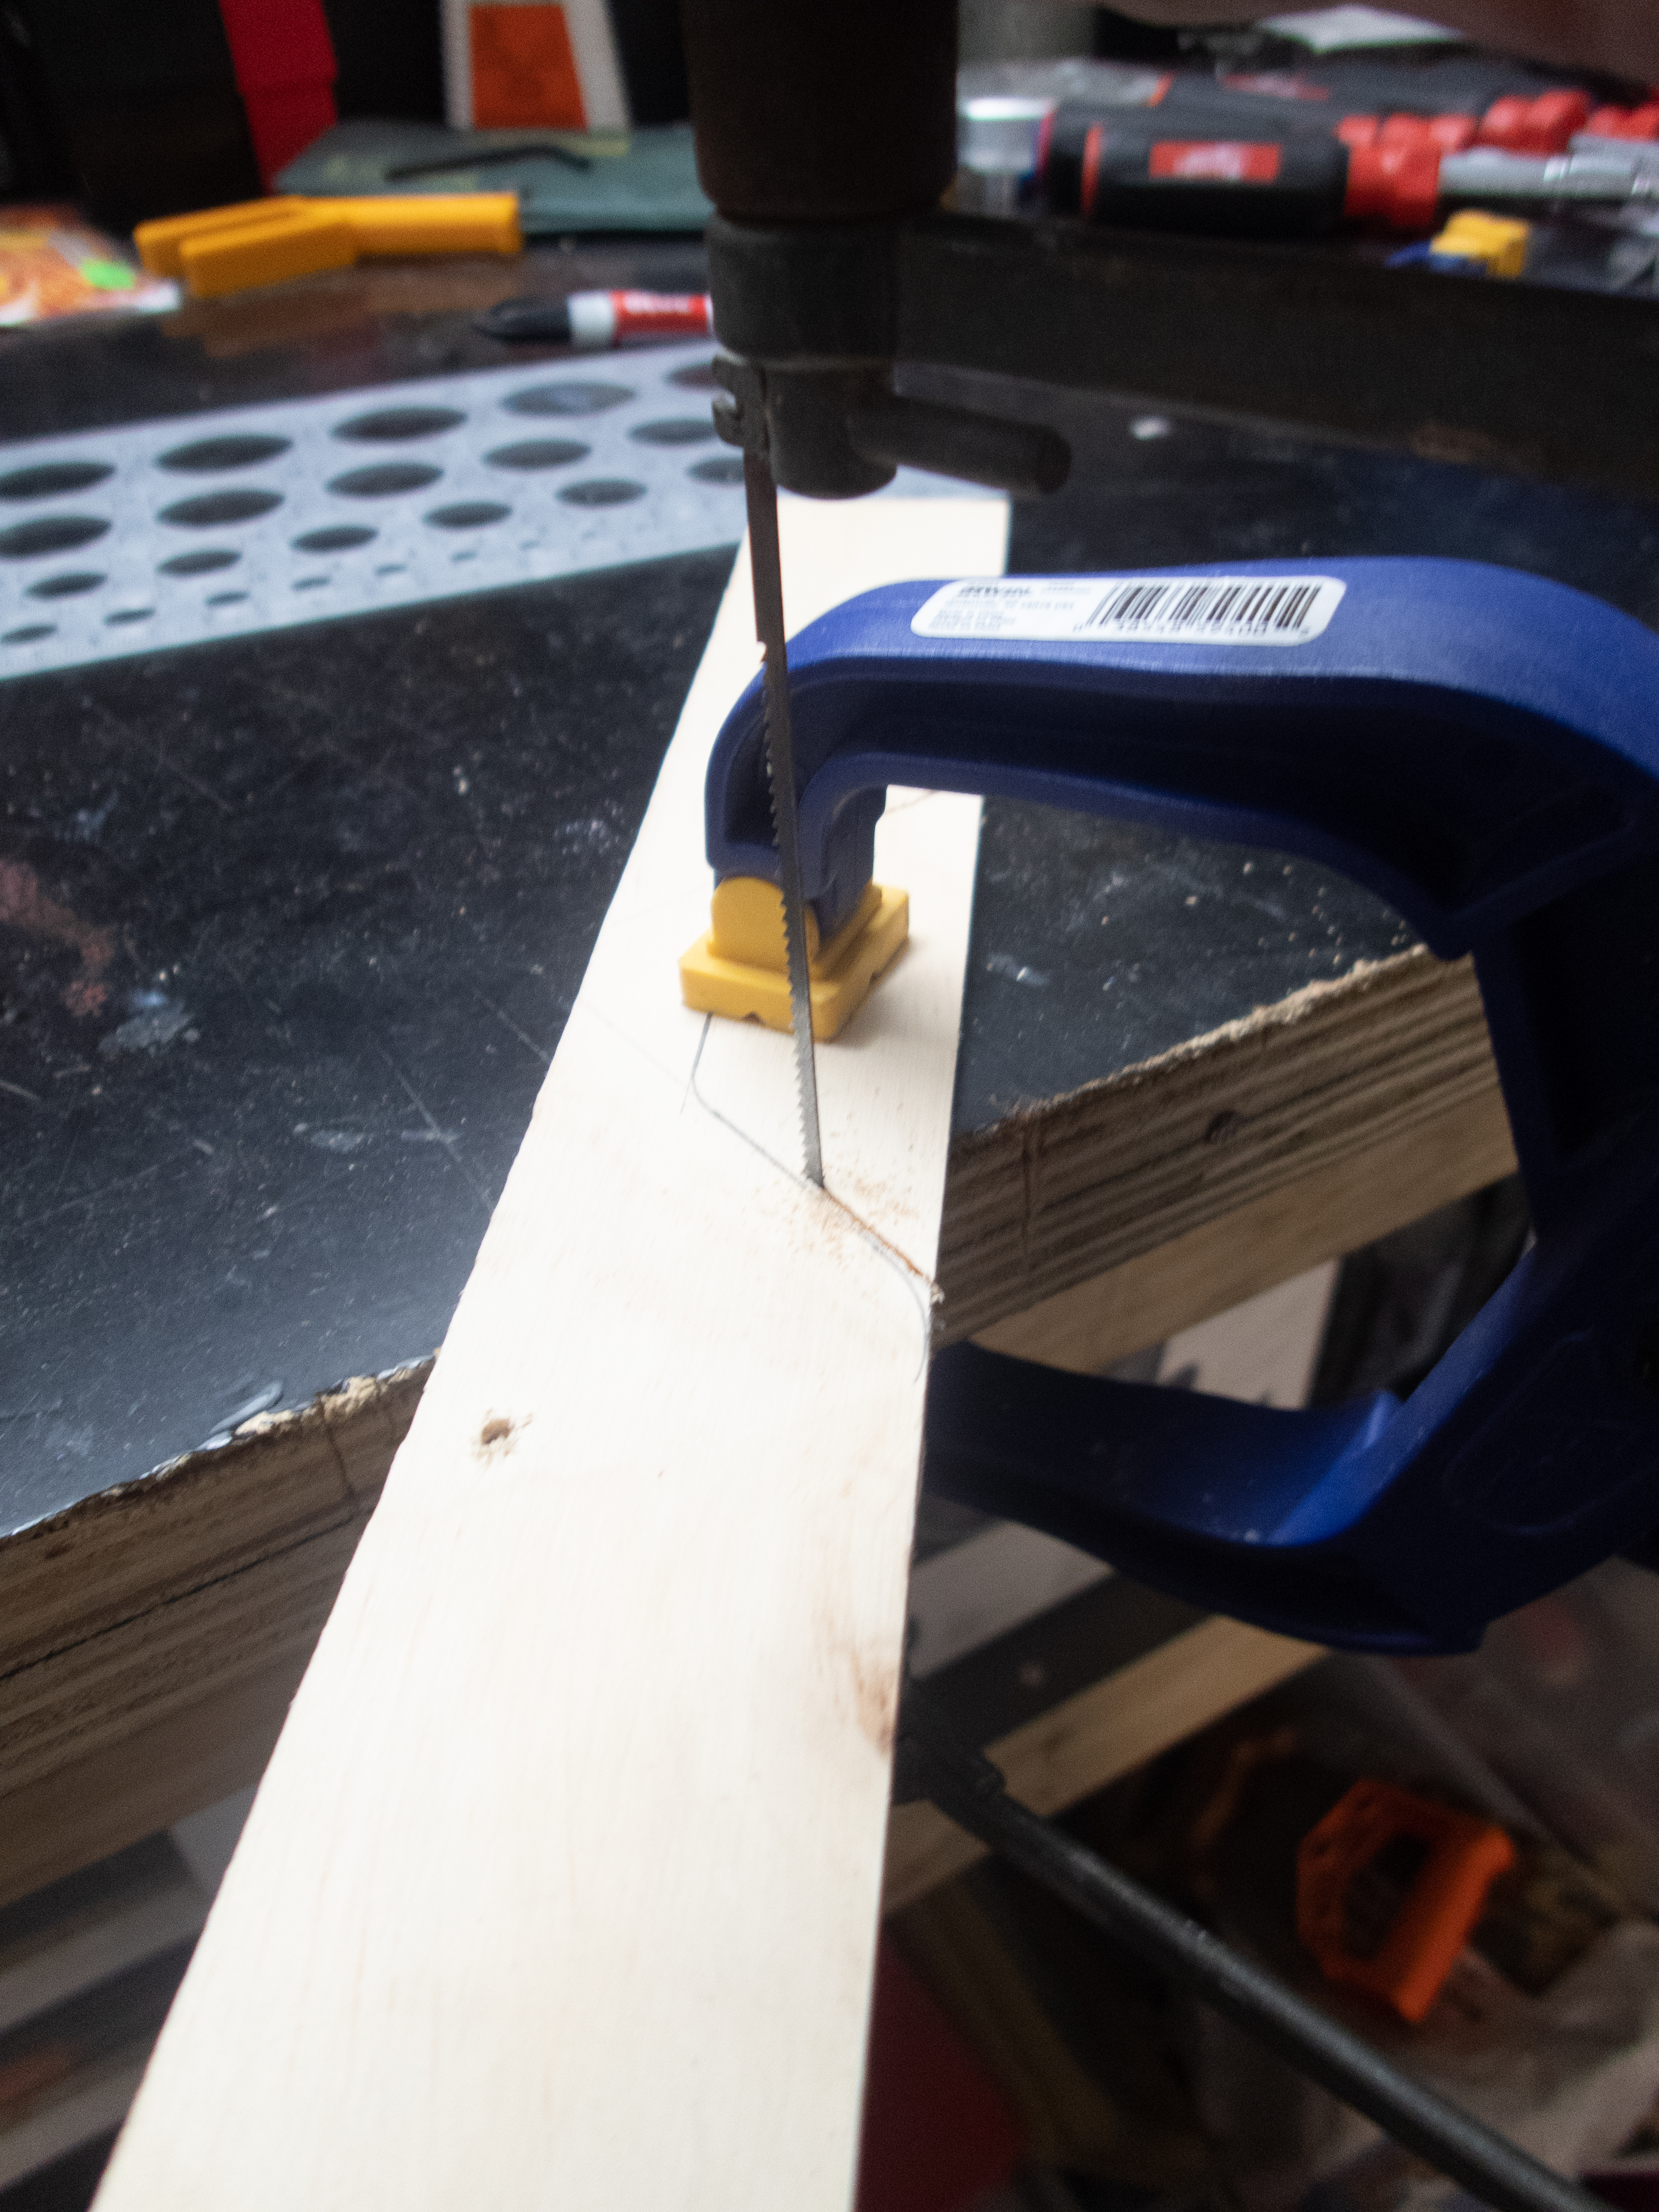
Cutting the template was a simple process, I just used a fret saw and cleaned up the edges with a file and sandpaper.

(Sorry about the photo quality, not sure what my camera was thinking)
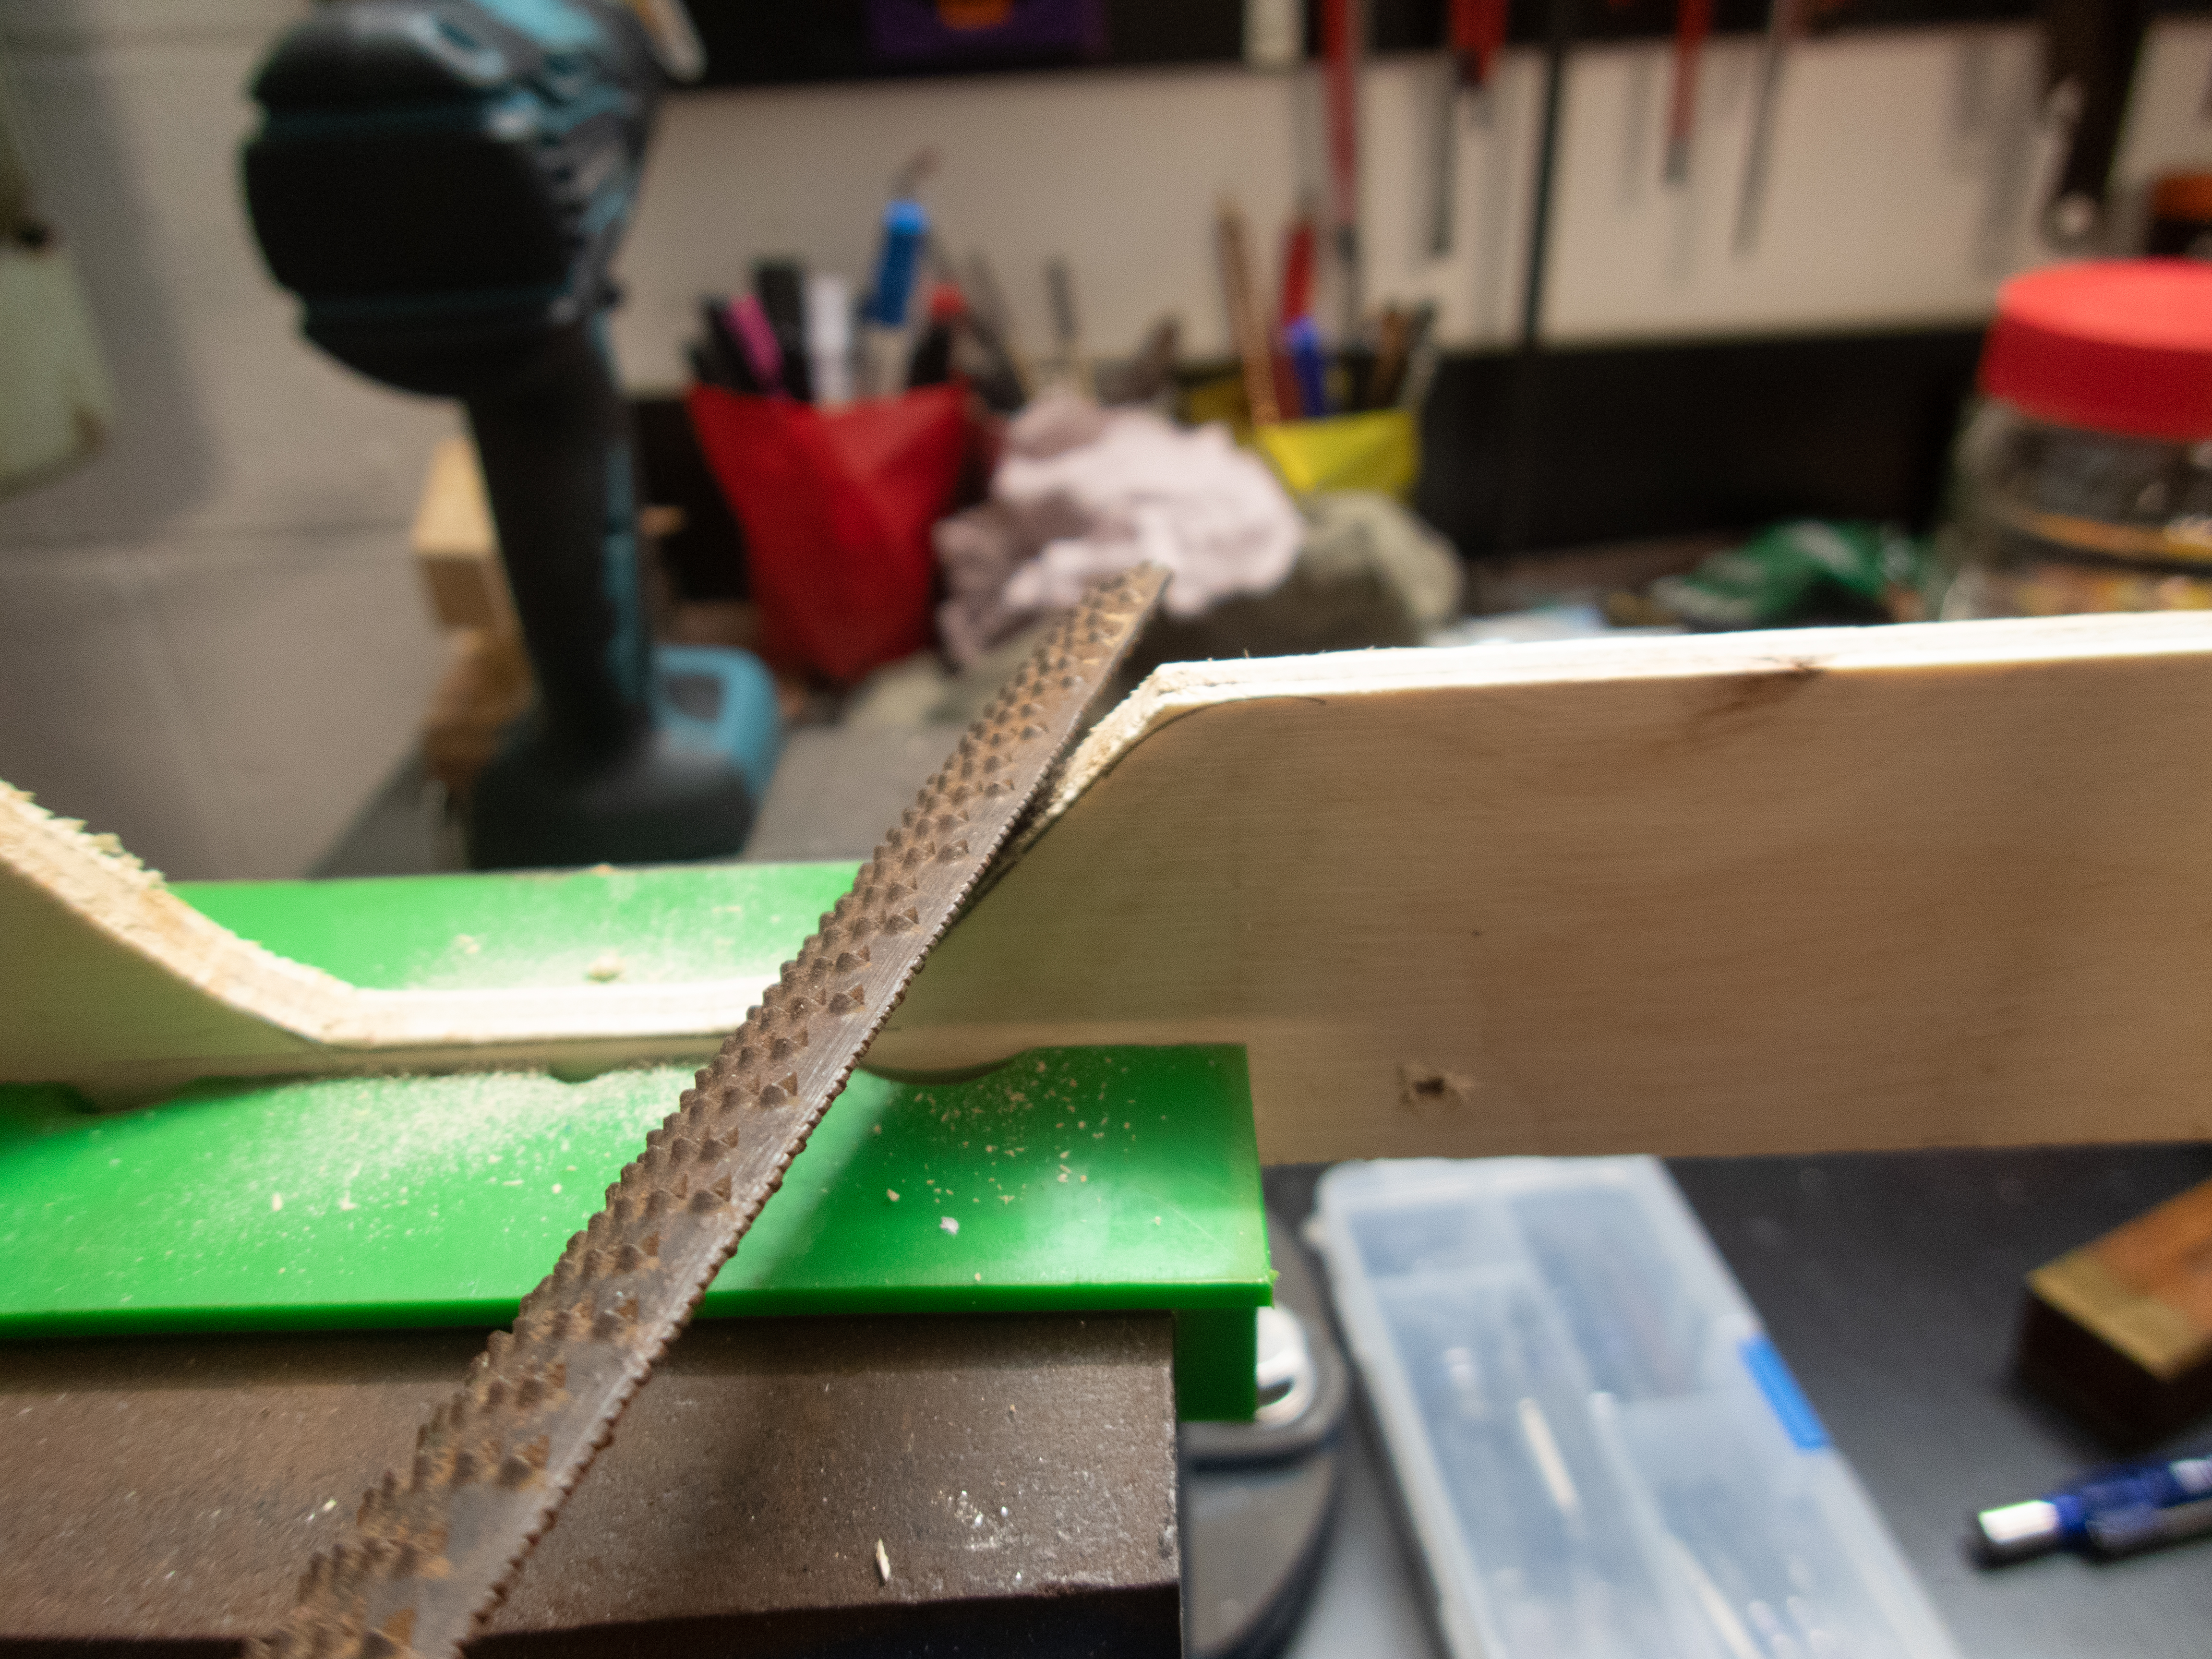
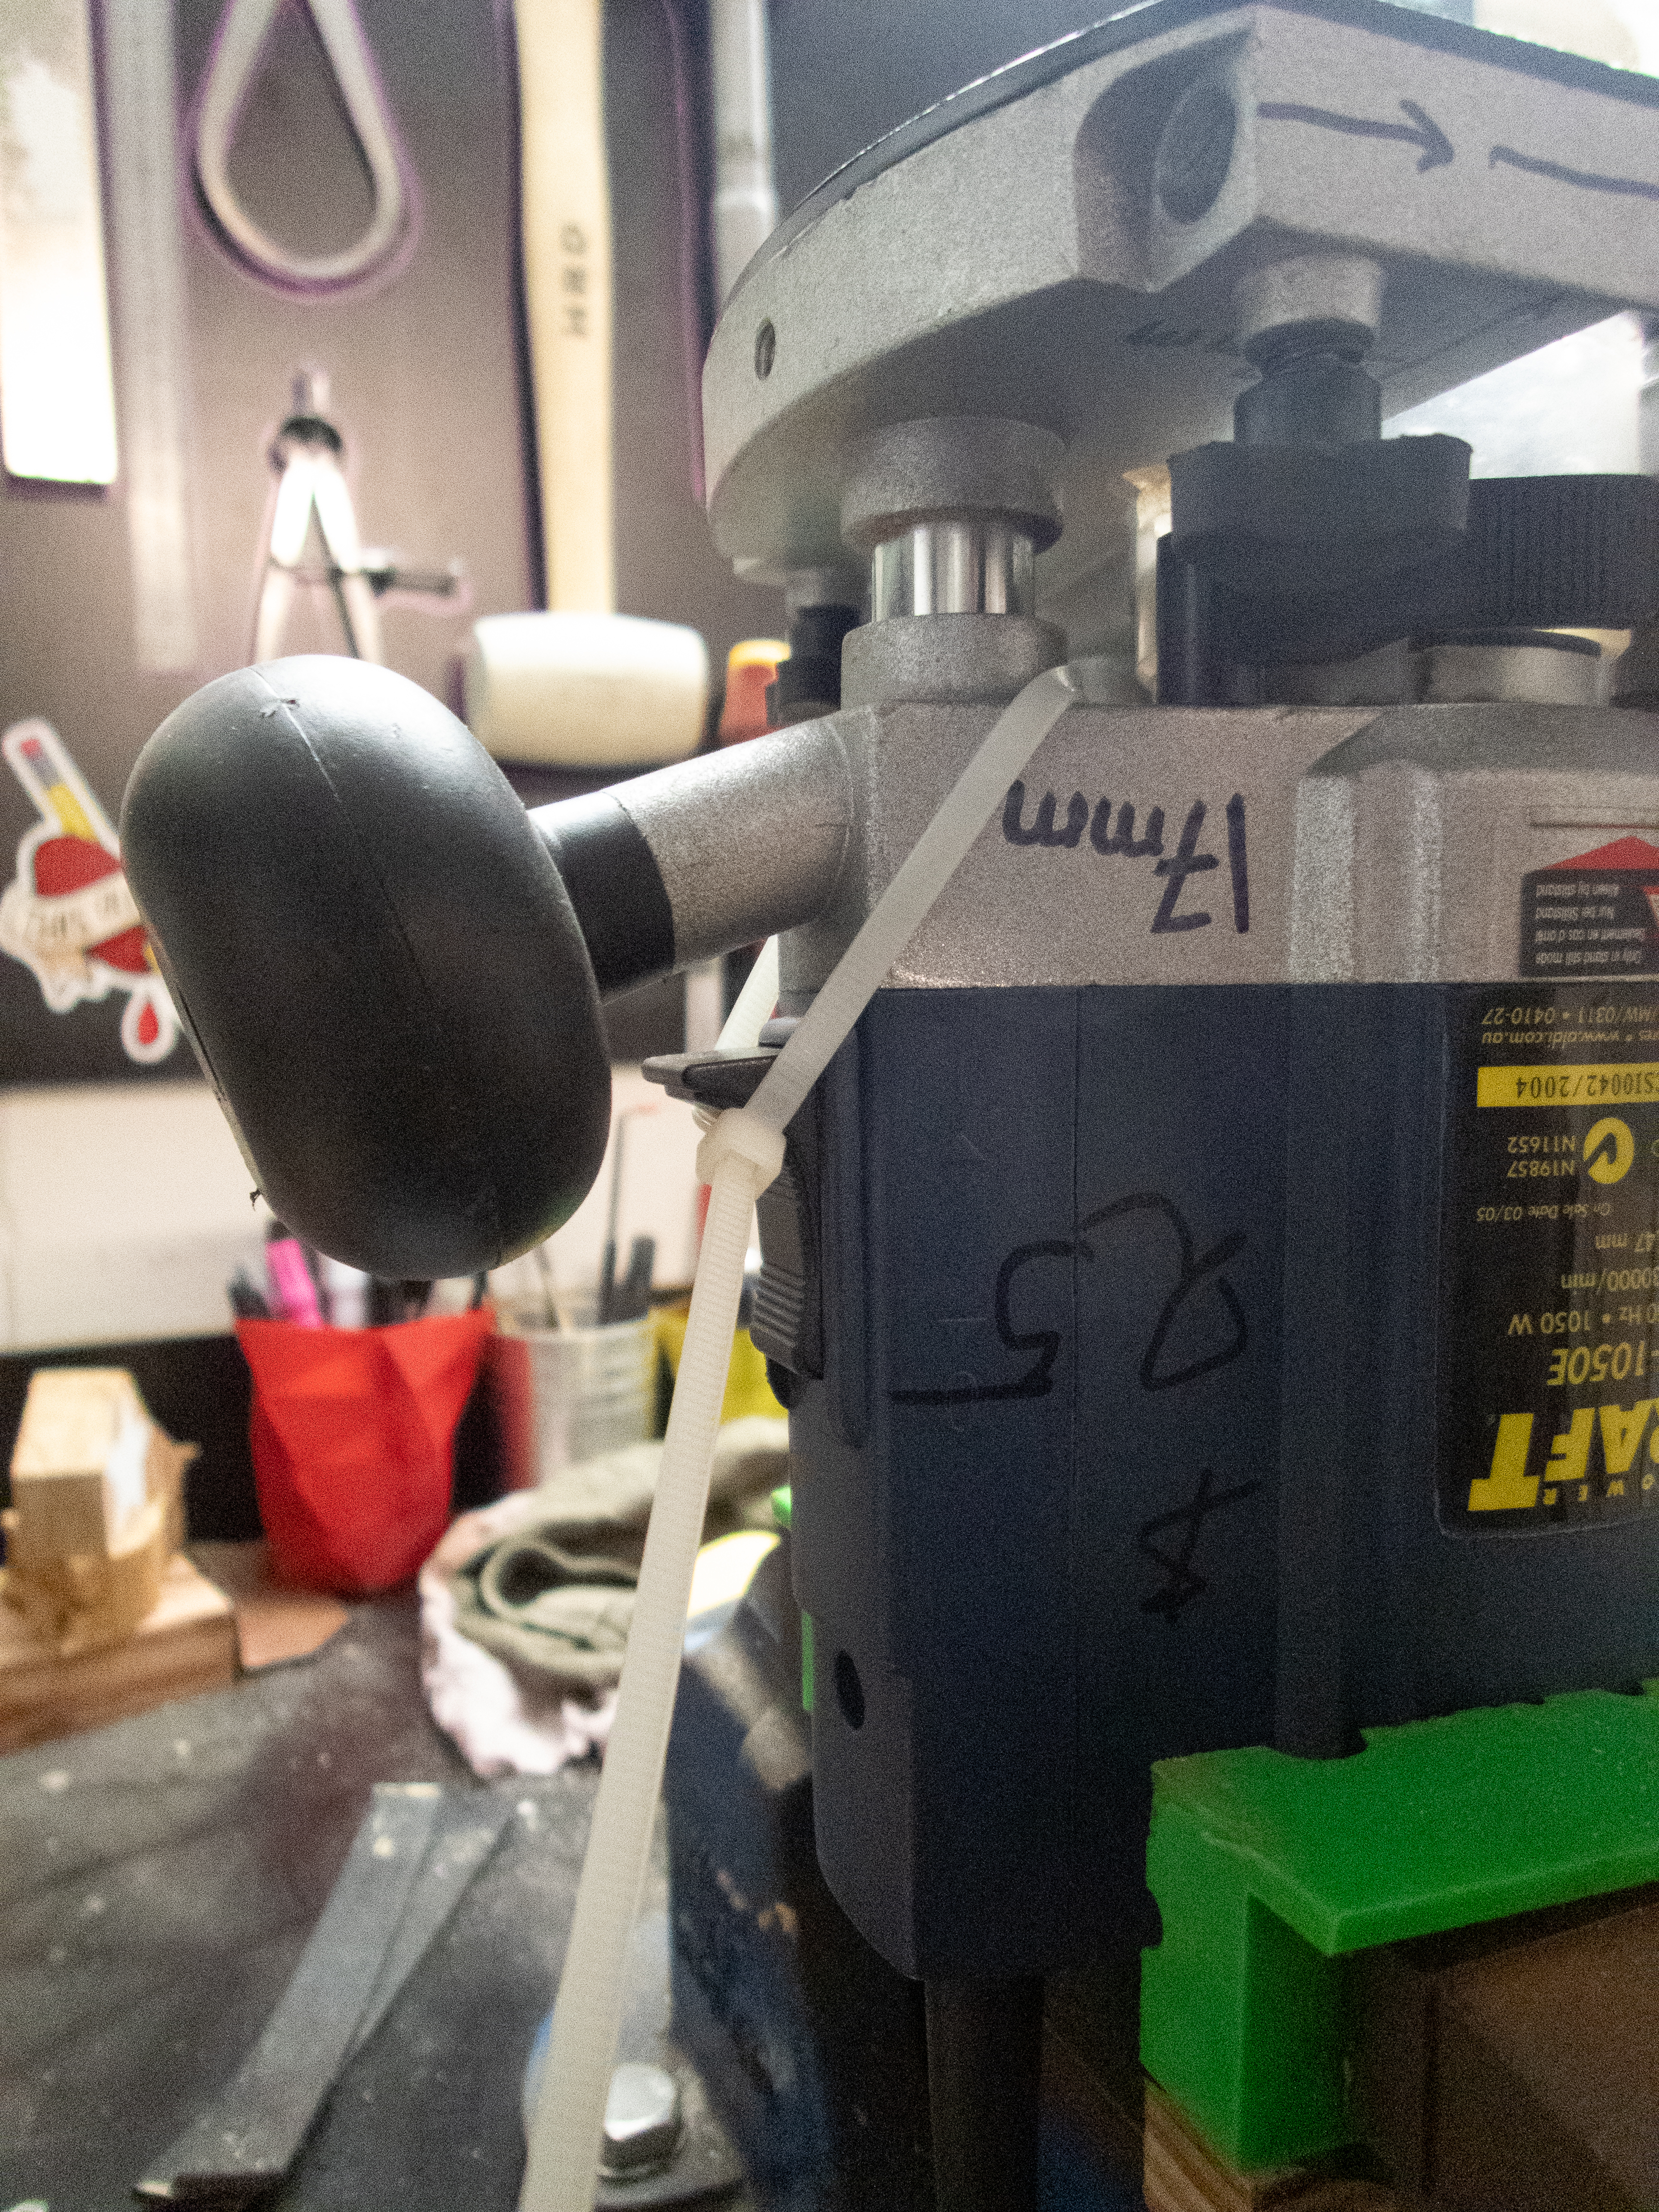
I’m going to use the router with a flush trim bit with ball-bearing guide to cut the handhold into each shelf. This type of bit can be used for following a template’s profile and this in turn cuts the pattern into the shelf. The next stage got a bit sketchy – I don’t have a router table, so I clamped the router in my bench vise and overrode the start/stop switch with some cable ties. If this thing lets go from the vice it’ll fall and smash on the floor and hopefully turn its self off. The trick will be not trying to catch it with a sharp cutting bit spinning at 8000rpm. Don’t try this at home kids.


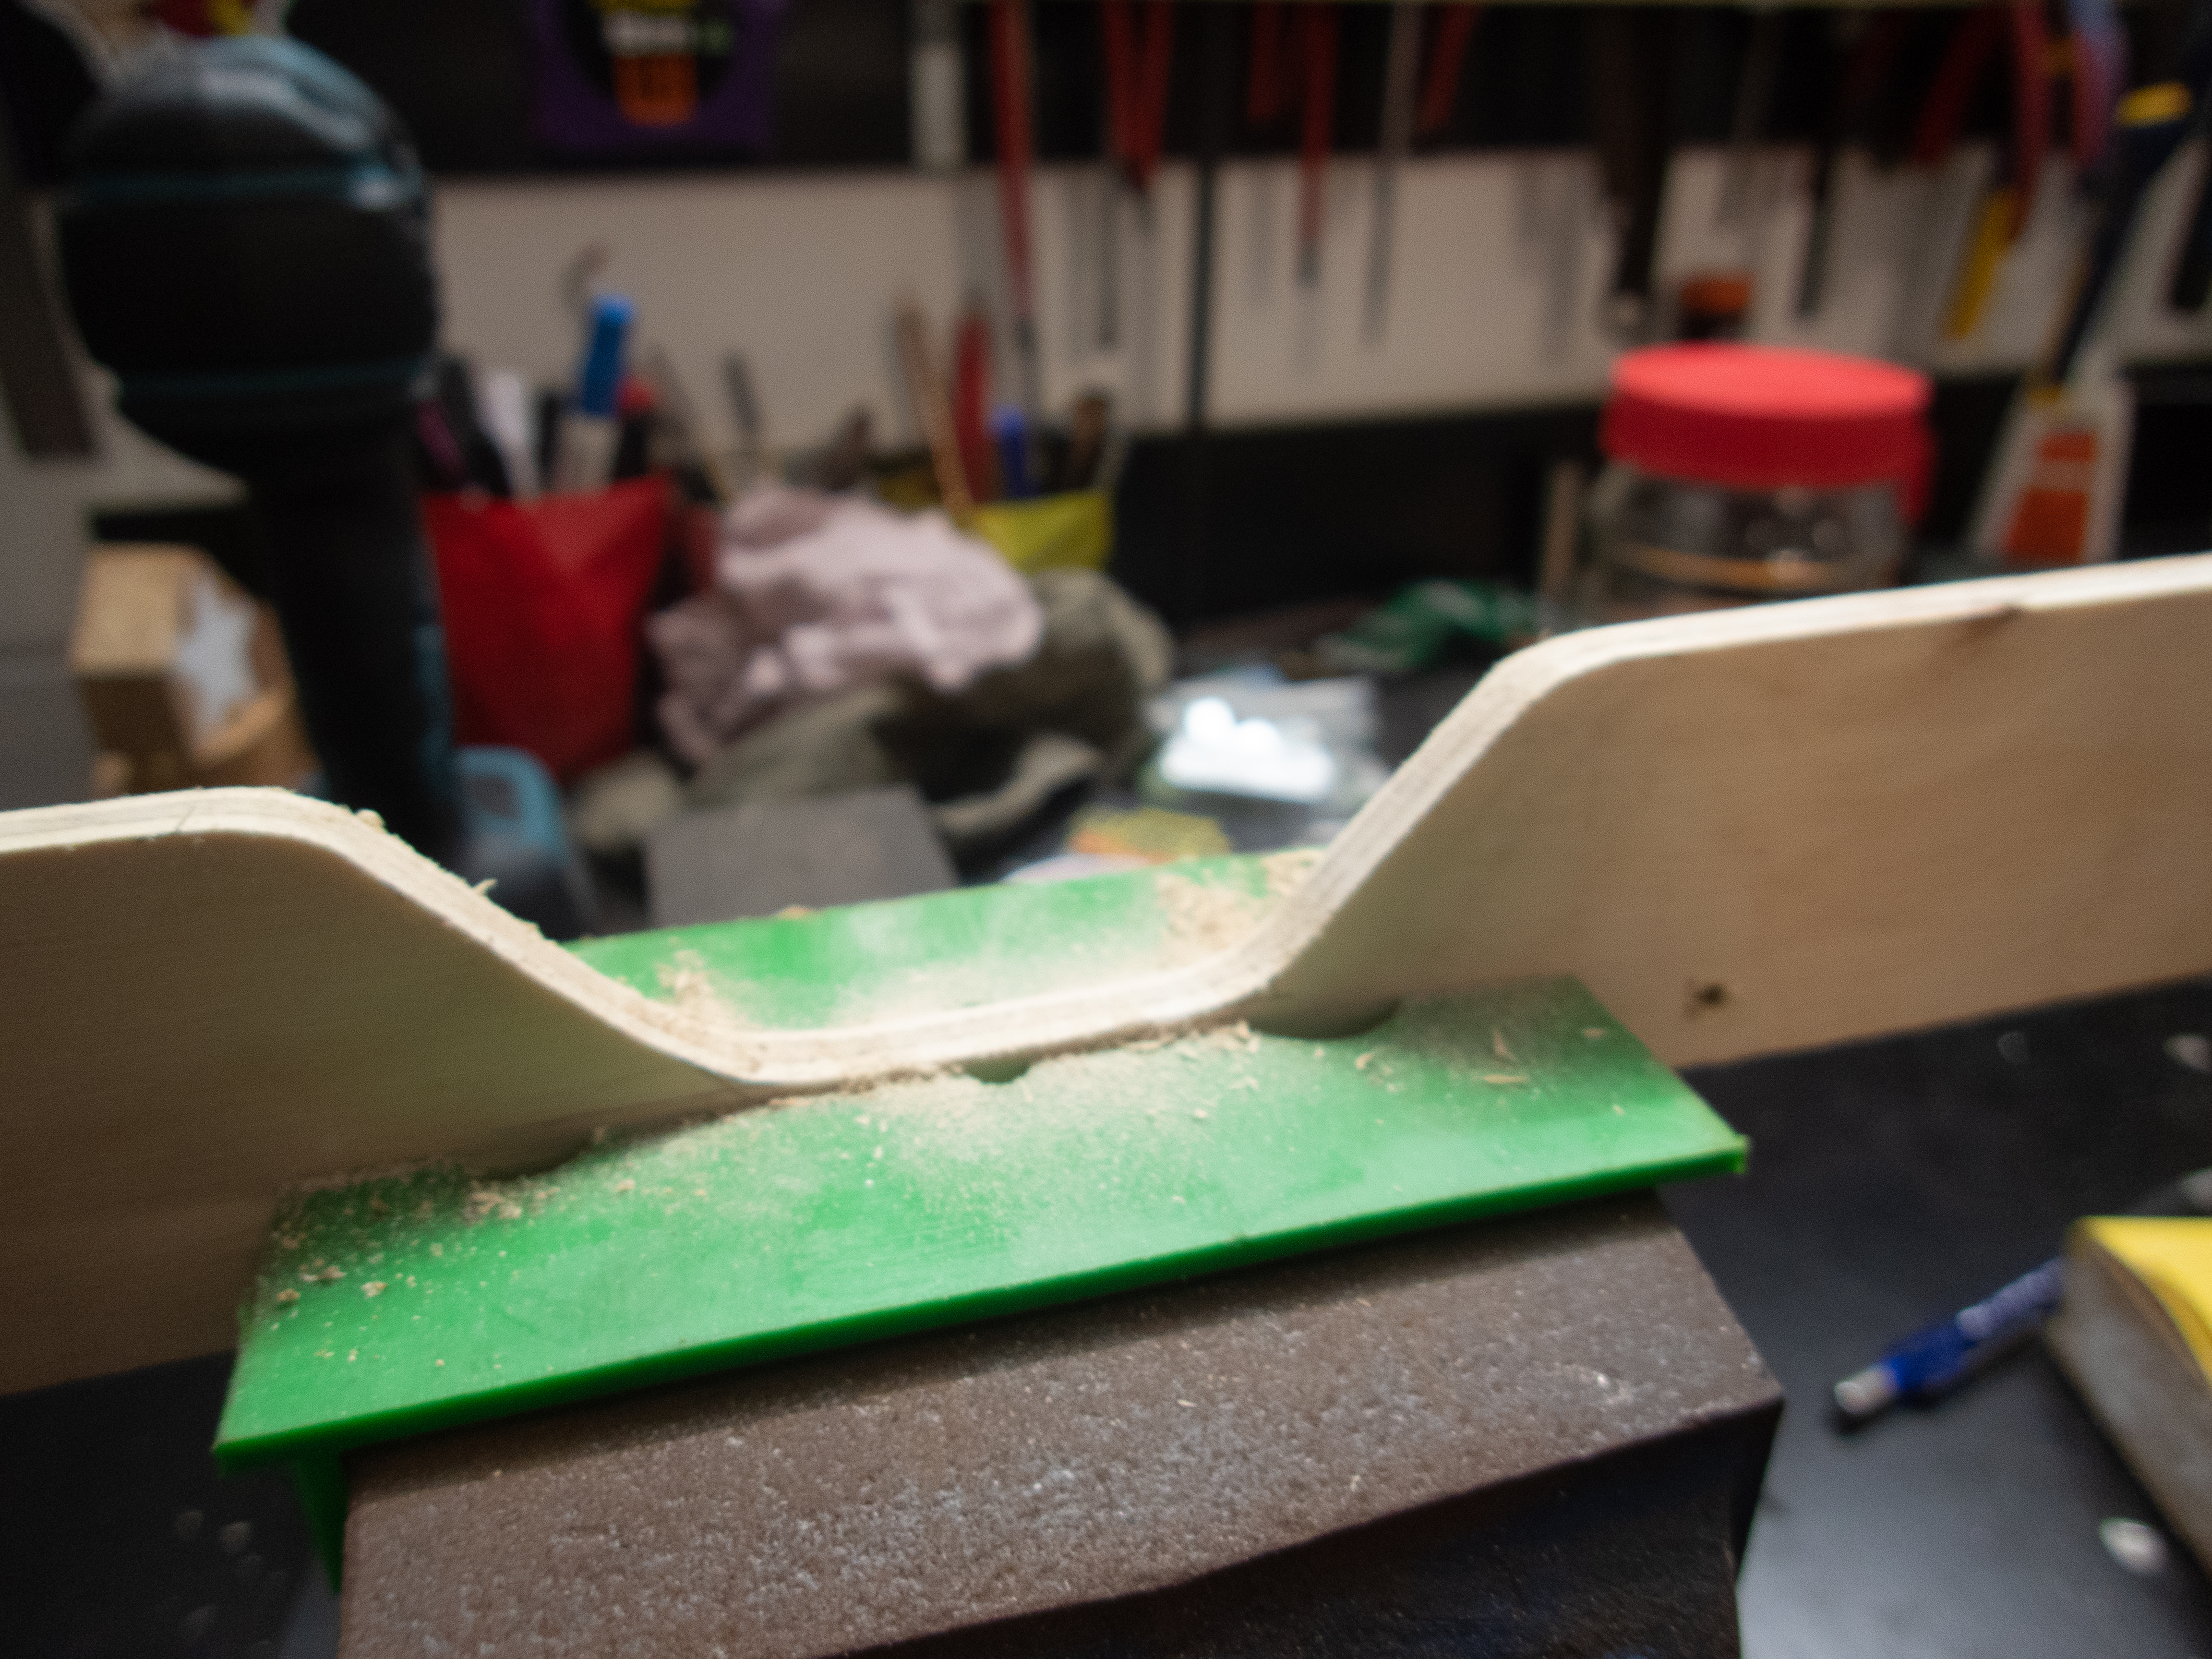
Well, it worked. It was a bit sketchy, but not as bad as I thought. Probably best to make a router table at some point. Well it took less than 5 mins to whip through all the shelves.

The edges need a bit of a clean up. The plywood didn’t cleanly cut on the face that was touching the template. Another thing learned, without vacuum extraction, woodchips go everywhere. After the first shelf I had to cover everything with a plastic sheet for protection and make cleanup easier.


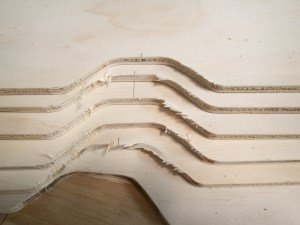
The routed handholds all needed to be touched up with some sandpaper because the edges didn’t cut cleanly. Not entirely sure why, but it wasn’t a major inconvenience.

OK, so back to the problem I’ve been avoiding – fixing the centre piece. The plan was to cut off the damaged end and extend the centre piece with some leftover plywood. To join the two pieces, I planned to use biscuits and wood glue. After the glue had set, I would route in the last set of grooves (whilst carefully checking that the router doesn’t cut through my hard work.)


So, that was all pretty straightforward.
However, this job has fought me all the way and now wasn’t any different.
For some reason or another – whether it be carelessness or being a bit over this project – when I cut the extension piece, I didn’t take any measurements. The extension, was too short!

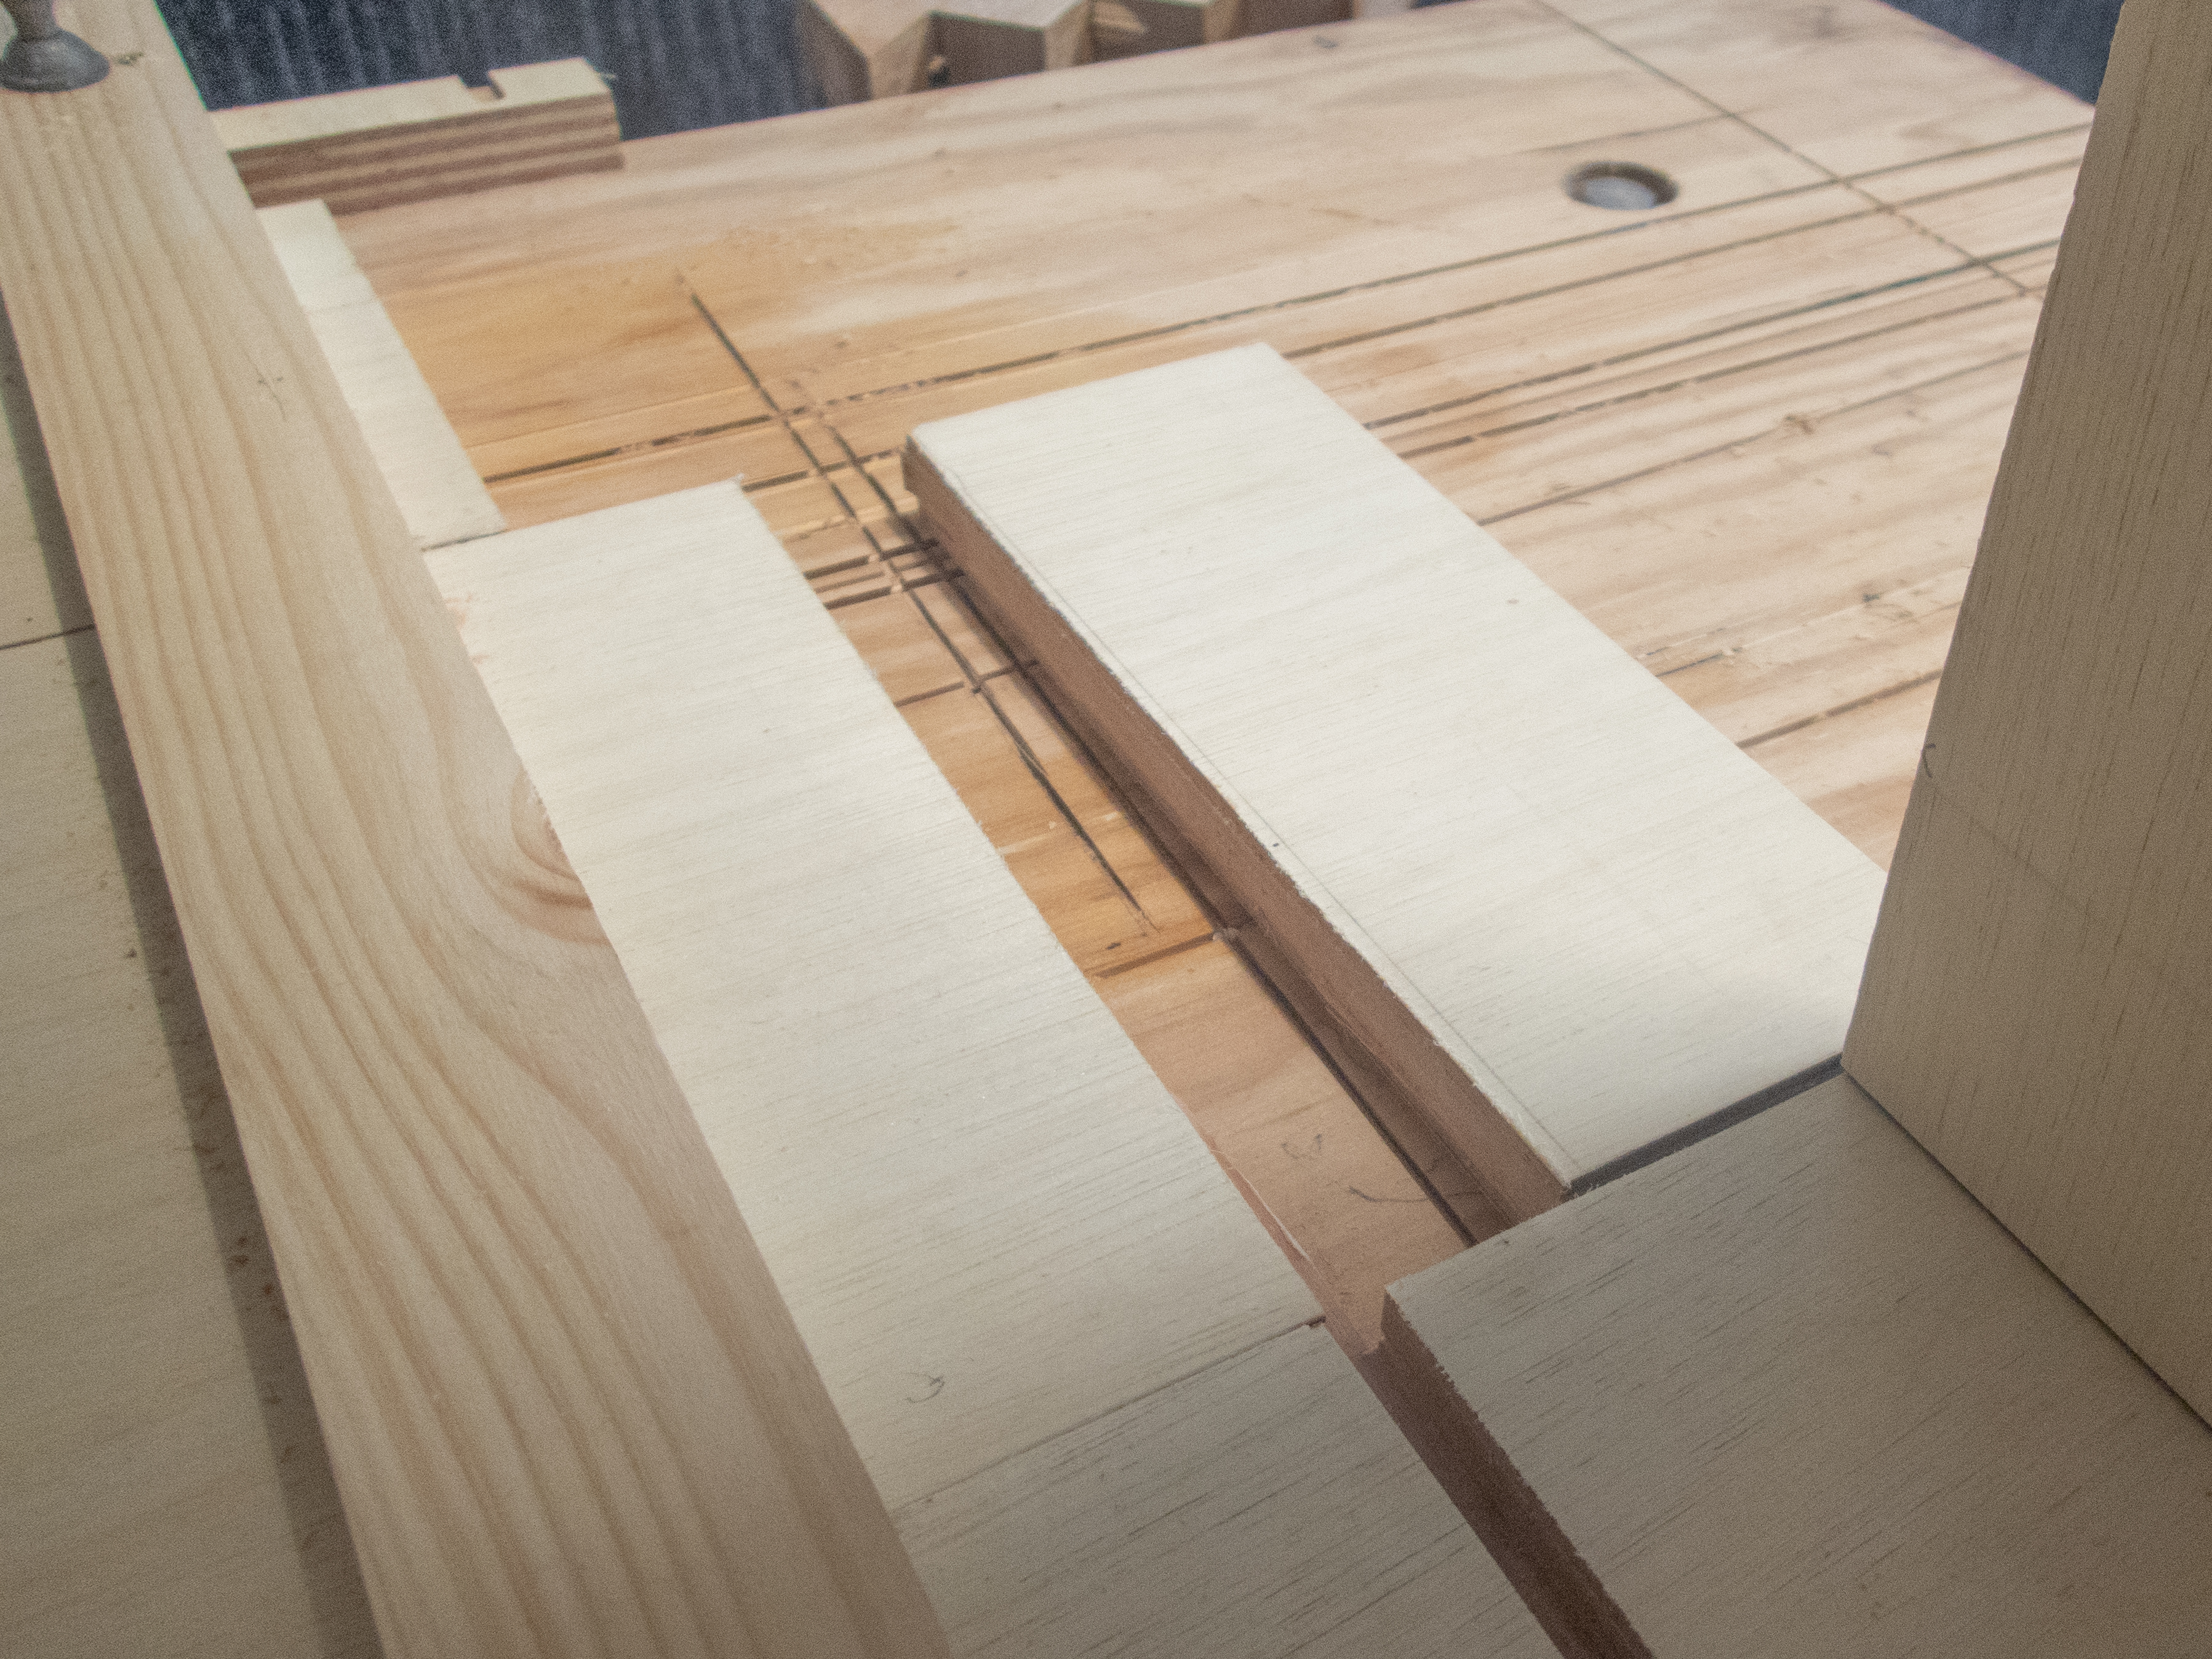
Well, I had to take out a little bit of time to recompose myself. To fix this mishap, I repeated the previous set of steps and added an extension to the extension! No need to bore you with those steps. But here’s the end result, its not pretty but it has character and a story.

Alright, the end is in sight. You’ll have noticed the centre piece’s 1st extension piece is wider than the rest of it, this was trimmed to size – you’ll just have to trust me on that.
The plan all along has been to mount this on the garage wall in an existing free space. Fortunately, my garage has concrete and brick walls, so this allows me to hang relatively heavy items.

A few years ago, I scored what I reckon is one of my best ever bargains. A second hand Hilti rotary hammer drill for $20. This fine piece of Swiss engineering is designed for eating its way through masonary, concrete and rock. There is absolutely no comparison between using a regular power drill with a “hammer” function and a proper rotary hammer drill. The mechanism inside the rotary hammer drill literally hammers the drill bit whereas the drill with the “hammer” feature just vibrates the drill bit. If you ever spot a rotary hammer drill in good condition for a good price, buy it, you’ll never regret it.

When drilling into any material, its always best to centre-pop your work, this also applies to masonry. Doing so stops the drill from wandering when getting started. I like to use an automatic centre-punch, but either a regular centre-punch (or a Phillips head screwdriver) and hammer work just as well.


Once all the holes were drilled, the brackets were hung using 8mm dynabolts to secure the brackets to the wall.


Inserting each of the plastic organisers into their little slot on the shelf was a big moment and well savored.

This project has taken significantly longer than expected – I estimated 2 whole Saturdays to complete, its taken more like 6 days. Also, it feels as this was one of those projects that has just fought me the whole way. There have been multiple mistakes and problems – some made by me, some made by that bastard router – that have prolonged this job, but they have all been solved (more or less).
Upon reflection there was a lot of fiddly details that had to be solved. Essentially, I have built myself a cabinet and I am definitely not a cabinet maker.
Things which I have learned include:
- More diligence with “measure twice, cut once”
- Woodworking is more art than science. Sometimes its best to just cut pieces to size when they are in position.
- Aldi plunge routers are not the best
- Making a template and using the router to cut out a profile is a very fast process and something I’ll do again
- I am pleased I went to the extra effort of routing out the handholds
- My circular saw straightedge is a bit out of square
- Making little jigs as you go saves a lot of time

One thought on “Plastic Parts Organiser Rack Part 3”