
Last week I had to have a huge tidy-up of my workspace, things were getting out of control. Finished projects, half completed projects, tools, test wires, components and general junk were just piling up. It was becoming unworkable – things were getting lost, projects forgotten and enjoyment was fading.
Whilst watching YouTube (to avoid the inevitable task of cleaning up), one of those YouTube “Recommended” videos popped up with Adam Savage talking about his workshop. Anyway, in typical Adam Savage fashion, he said a few one-liners. One of them being, “Drawers are where things go to die”, 0:58. I had a laugh at this, thought nothing of it, watched some of his video about his tool stand and stopped watching after about 3 minutes because the whole video is about a tool rack.
Two days later, still without cleaning up, I uncovered an old toolbox (that I’d forgotten about) and found two pairs of electronics flush cutters, a good quality adjustable shifter, a lug crimper and a set of imperial nut runners. All of these tools I’d forgotten about probably because they get used infrequently.
My resurrected tools had just been revived after emerging from the bottom of a toolbox. Now, the toolbox served a purpose of keeping things tidy and organised, but being hidden away meant I’d forgotten about them.
Perhaps Adam has a point.
So I got thinking about how to better organise my tools so they are more accessible. I don’t have the space for a wheeled contraption like Adam, or even the quantity of the tools to fill all its racks. But the idea is, all your tools should be easily accessible and within eye-sight. Easy accessibility results in your workflow not being interrupted because you have to get up out of your chair. Having all your tools within sight ensures you don’t forget about infrequently used items.
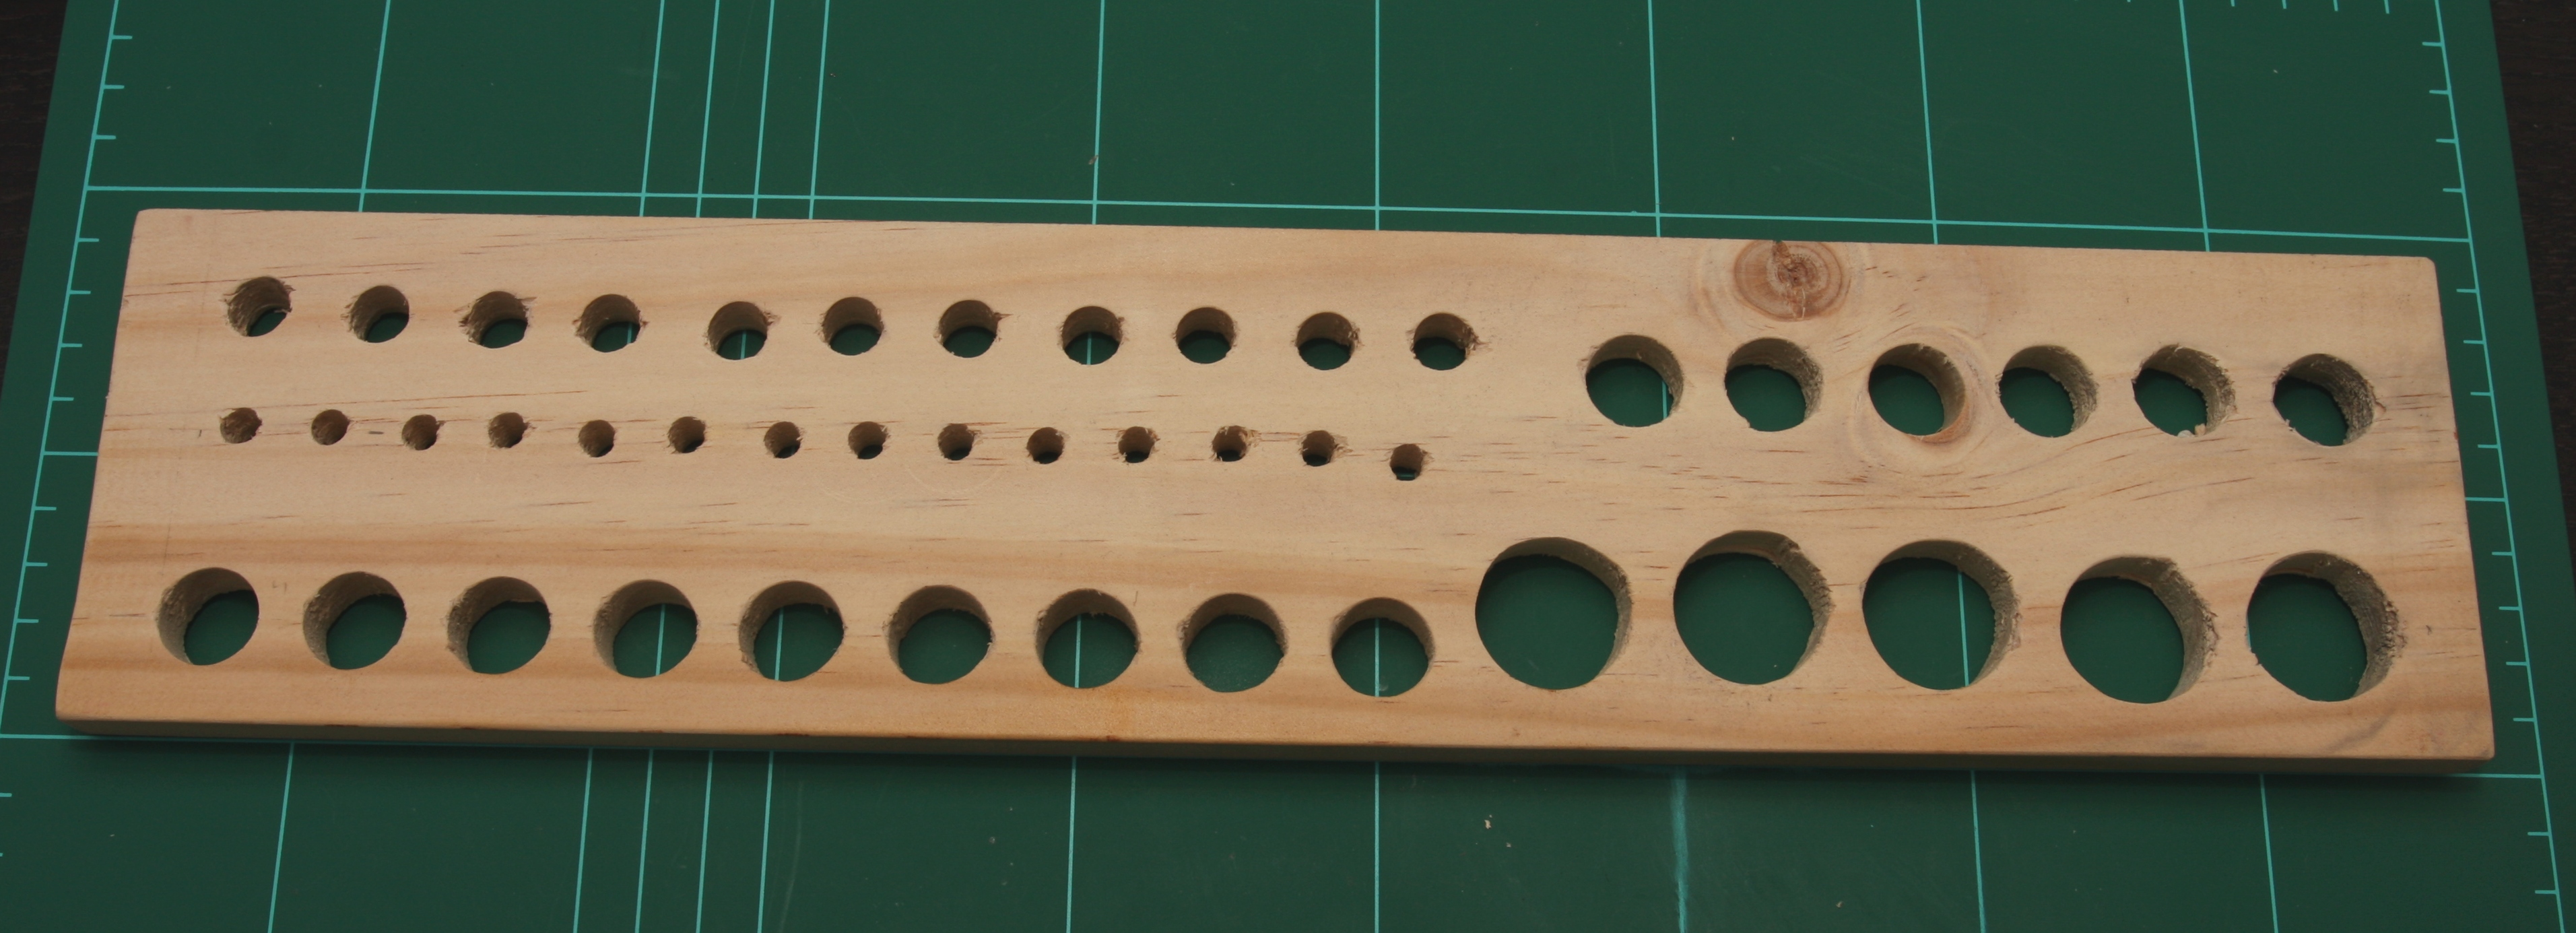
I liked the idea of having the hand tools hanging by one of their arms. So for the first iteration of the design, I planned to drill multiple holes in a 400mm length of 12mm thick dressed pine. After some quick measurements of the tools to be stored, I decided on four hole diameters, 6mm for small screwdriver shafts, 10mm for larger screwdrivers, 16mm for small hand tools and 25mm for larger hand tools.

I’m not much of a woodworking person, I measured all the holes to be straight, but using a hand drill, the finish is a bit rough – lets call it character. Having all tools in the rack will hide the imperfections.
My building has concrete walls, so I was able to easily fix the rack to two angle brackets which were then secured to the wall with some plastic wall plugs.

So far it works great. Using timber was a good idea as it is nice and sturdy. There are no piles of tools on my workbench. Also, because it is within reach workflow productivity feels as if it has increased because I don’t have to get up and go looking for something.

Next, I want to make another shelf, but it will involve a different method to store tools that don’t suit the drilled hole approach. For example, I have a bunch of needle files and small brushes that I use a lot. Perhaps a shelf with a bunch of small dividers to hold everything upright and visible is what is needed.
Anyway, thanks for the tip Adam.

Impressive work on the SIMPLE ELECTRONICS WORKSHOP TOOL RACK! The design is both functional and aesthetically pleasing, providing easy access to tools while keeping the workspace organized. It’s a must-have for any DIY enthusiast or professional looking to streamline their projects. Great job!
LikeLike